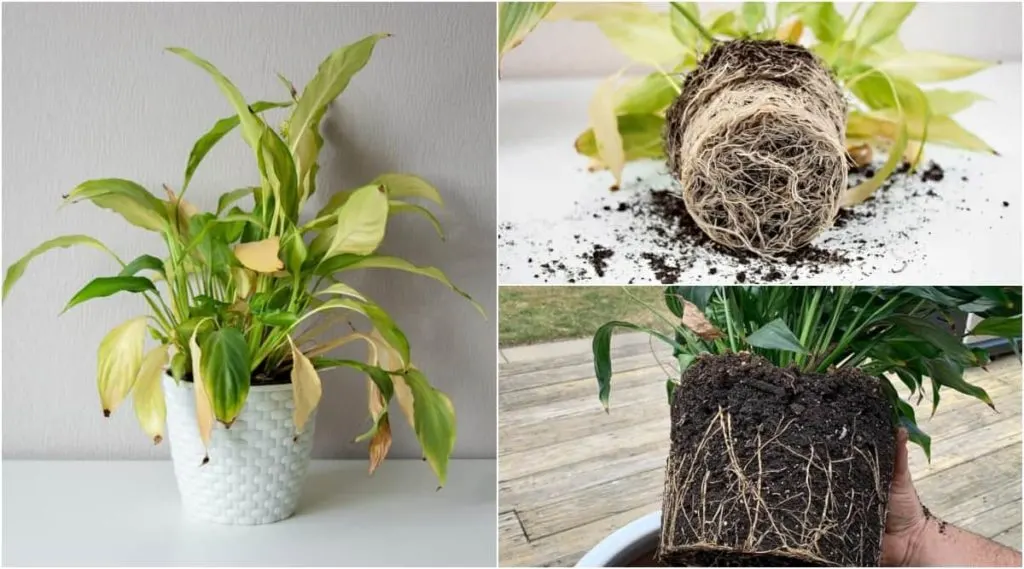
Peace lilies (Spathiphyllum wallisii) are elegant and magnificent plants known to thrive indoors or in shadier spots in your garden. They’re extremely popular, not only for their luscious green leaves and soft white flowers but for their easy-going nature.
As intricate as they look, they’re wonderful plants for beginner gardeners. They thrive in low light conditions, needing very little fuss to flourish in your garden or on your window sills.
Unfortunately, peace lilies’ easy-going nature doesn’t mean you won’t face any issues. You could struggle with wilting or browning leaves. But, the most prominent problem is the strange phenomenon of yellowing leaves.
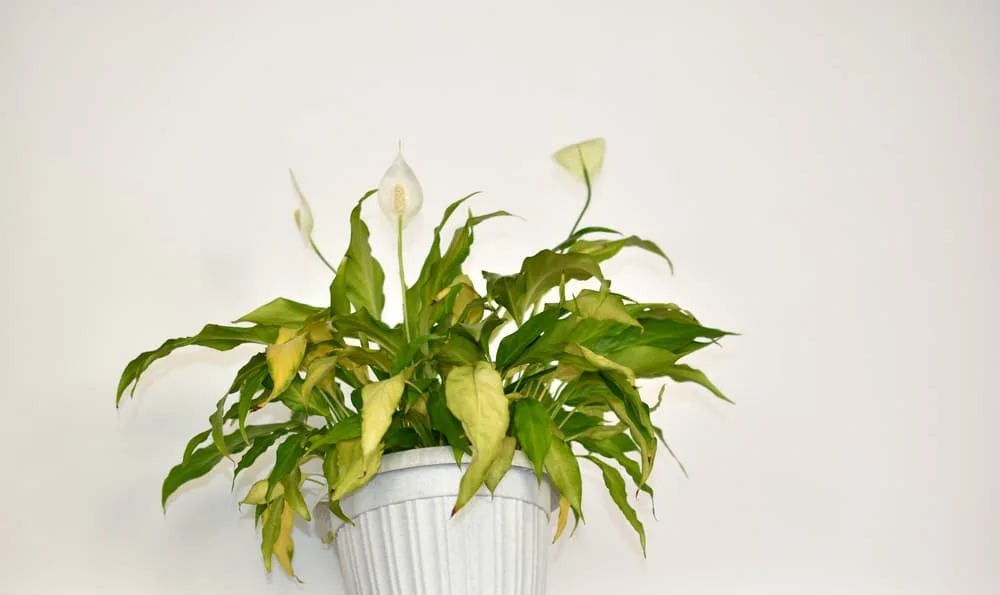
Yellow peace lily leaves occur for several reasons, ruining the famed elegant, tropical look of the plant.
Luckily, fixing yellowing peace lilies isn’t a difficult task, and you can nurse your plant back to health in no time with these tips.
7 Reasons For Yellow Leaves On Your Peace Lily
1. Watering Incorrectly
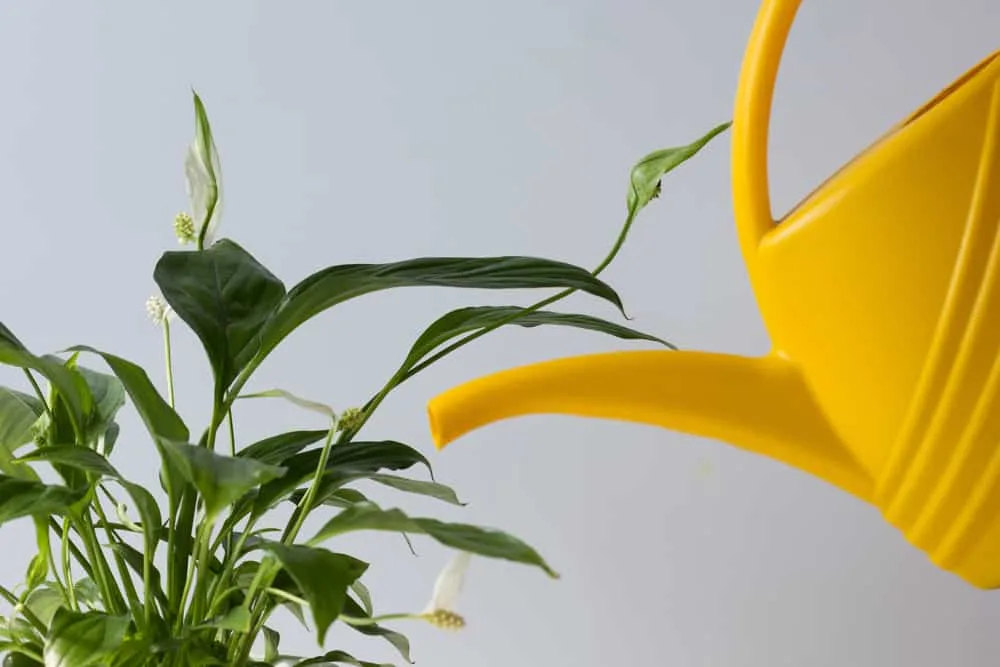
Peace lilies are tropical plants, liking plenty of water and a bit of humidity. But water too much, and you may find yourself surrounded by yellowing leaves.
Too much water or bad drainage can cause pooling around the roots of your peace lilies. This causes root rot, which prevents the roots from taking up water and nutrients, ultimately causing the leaves to turn yellow.
On the other hand, yellow leaves could be a sign of a thirsty peace lily. Even though they’re relatively resilient plants that can manage a few dry days, prolonged periods of too little water could cause health issues, indicated by yellowing leaves.
The Solution
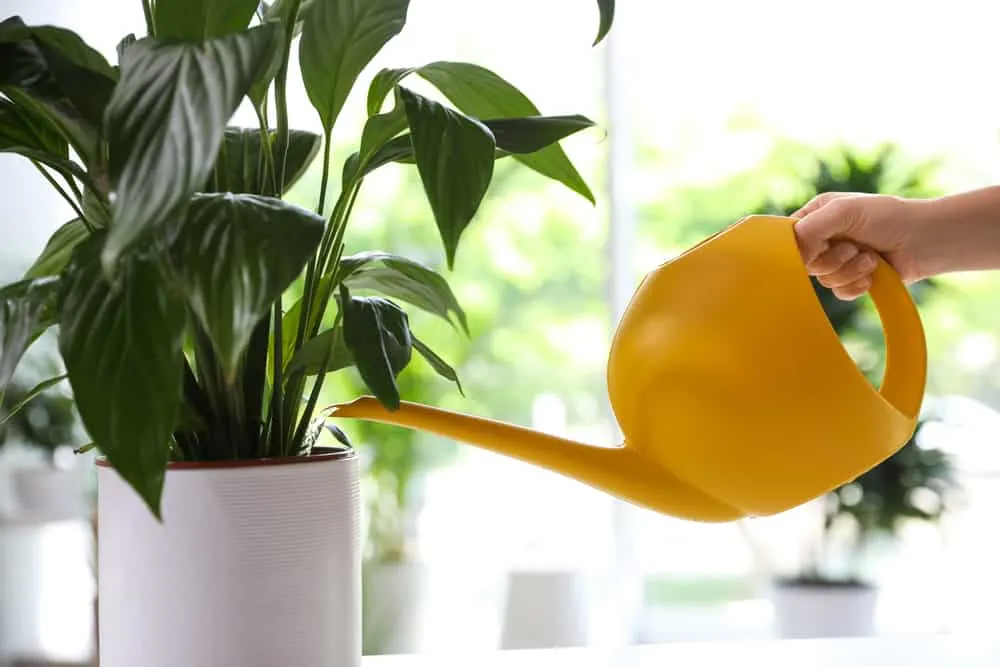
This fix is an easy one – learn the needs of your peace lily and adjust your watering habits accordingly.
You should water your peace lilies when the top layer of soil is dry. A good deep watering every week or two is usually perfect for a healthy peace lily, depending on your indoor growing conditions.
If you’ve adjusted your watering but notice that you’re still struggling with yellow leaves, you might not have sufficient drainage.
Peace lilies like moist but well-draining soil and need to be planted in a light soil mix. You can easily increase the drainage of your soil by adding some coconut husk (the best organic alternative to peat moss) and perlite. If you’re showcasing your lilies in pots, ensure they have enough drainage holes and never water inside a pot cover.
Also make sure to get rid of any excess water around the base of the pot, especially if it’s placed on a pot saucer.
2. Water Quality
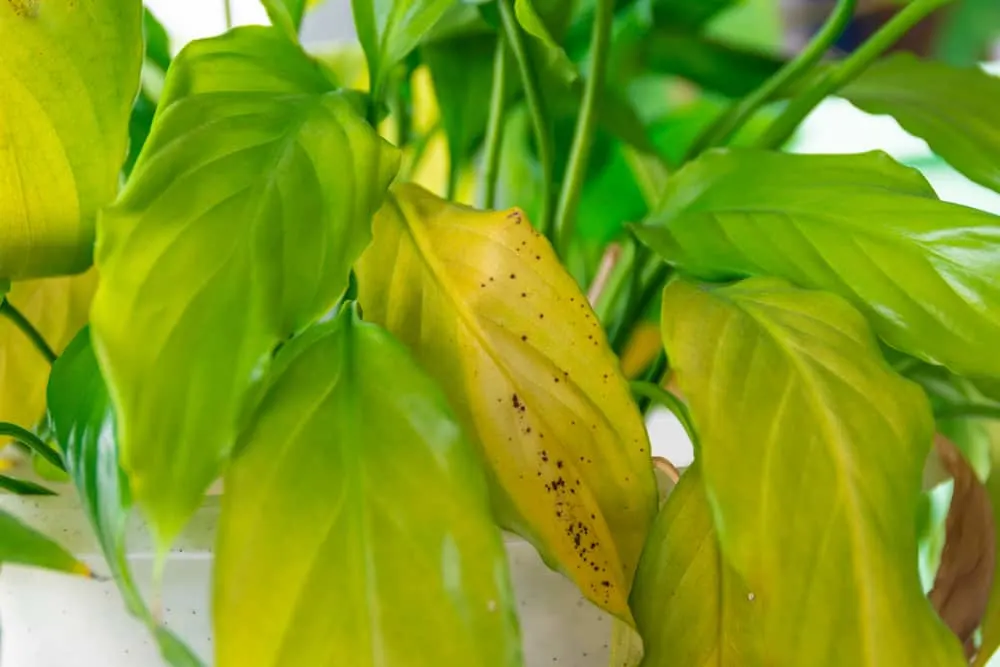
Sometimes, it’s not the amount of water causing our peace lily leaves to turn yellow, but the quality of water you’re using.
Peace lilies aren’t usually fussy when it comes to water quality. However, tap water is packed with chlorine, fluoride, and other minerals, which can cause the leaves to yellow in high concentrations.
The Solution
The fix is quite simple – don’t water your peace lilies with tap water. Instead, use purified, filtered, or even rainwater.
Using tap water is very convenient, and I won’t blame you for going the easy route. In this case, try de-chlorinating your tap water. All you need to do is leave your water pitcher or container in the sun for a day or two to let the chlorine evaporate, or boil and let cool before use.
3. Sunlight
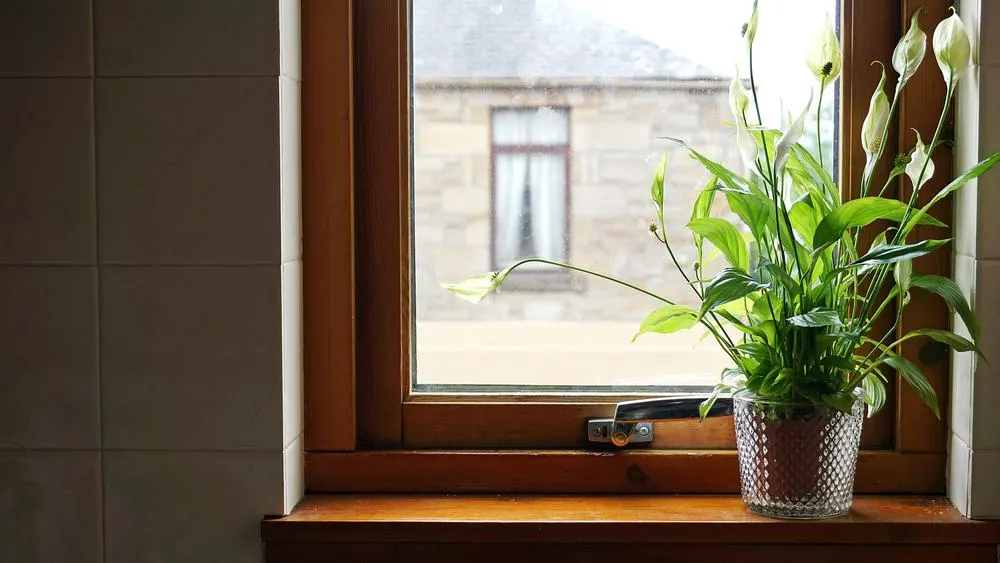
Lighting is one of the main causes of yellow peace lily leaves. Peace lilies love light, but too much direct sunlight can scorch leaves, making them dry out and take on a pale yellow hue.
However, too little light could be a contributing factor. If your plant doesn’t get sufficient light, it’ll struggle to photosynthesize, which can lead to yellow leaves. As the peace lily is typically the number one recommended ‘low-light’ houseplant, this is usually the main culprit.
You’ll know that your peace lily isn’t receiving enough light if it’s also struggling to produce flowers.
The Solution
Peace lilies are naturally found on jungle floors, flourishing in the sunlight filtered by trees overhead. To mimic these conditions indoors, place your potted peace lilies by an east-facing window, or in a bright corner that receives indirect sunlight throughout the day.
If your peace lilies aren’t getting enough light, move them to a sunnier spot on your windowsill or in and around your house, keeping them away from direct sunlight.
Outdoor peace lilies should be planted with some care. The spot you choose should either get plenty of morning light or filtered sunlight throughout the day. A shady spot near an east-facing wall is ideal.
4. Temperature Fluctuations
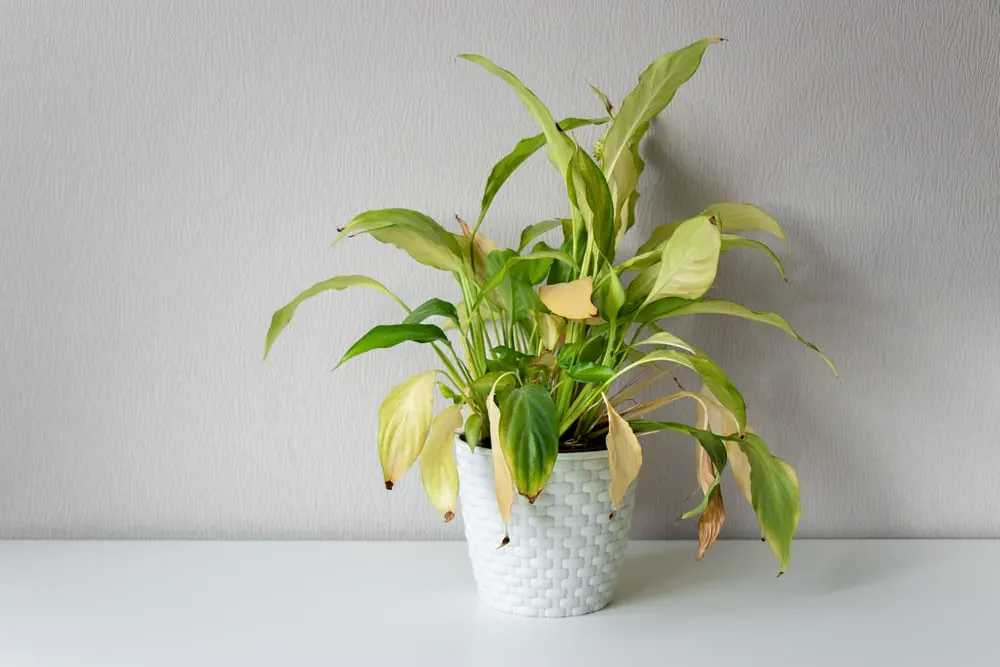
Extreme temperature fluctuations can stress your peace lilies out, causing their leaves to turn yellow. Temperatures that dip below the optimal range for tropical plants are another stressor that can affect the color of peace lily leaves.
As mentioned, peace lilies thrive in jungle-like environments (USDA zones 10 – 12), so they love warm, muggy weather. The optimal temperature range for peace lilies is between 65 and 85F – one of the reasons why they make such great indoor plants.
When temperatures dip below 65F and you experience a sudden cold snap, it could cause yellowing. Extreme heat can also have the same negative effects, usually accompanied by wilting.
The Solution
A thermometer placed next to the plant will indicate whether the temperature is causing your yellow leaf issues.
Place your peace lily in the warmest room of your house, especially in winter. Keep the pot away from the windows as it can get extremely cold near glass, and avoid direct sunlight to prevent overheating.
If you live in zones 9 or lower, keep your peace lily indoors or in a pot to be moved between indoors and out to manage temperature drops.
5. Nutrient Problems
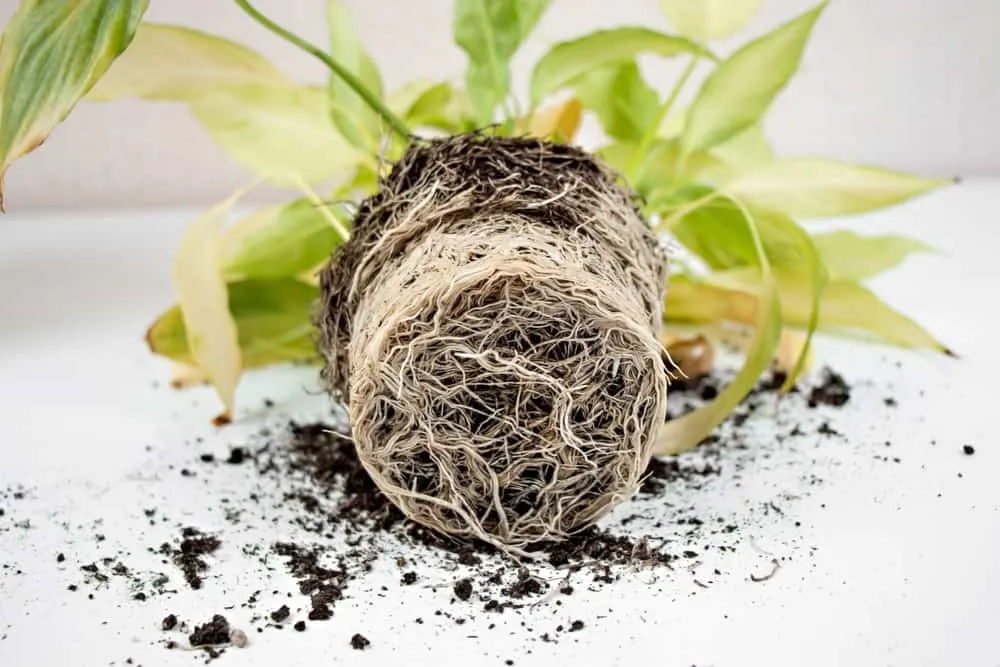
Due to peace lilies’ easy-going nature, they often don’t need a nutrient heavy fertilizer to help them thrive. However, yellowing leaves could be an indicator that your plant is lacking some nutrients, from major nutrients like nitrogen to micronutrients like iron or magnesium.
If your plant has been in the same pot for long periods of time without a soil refresh, nutrients are likely your number one culprit. Once the plant has used up all the nutrients in the soil, it will struggle to grow without additional fertilizers.
A root-bound plant could also lead to a nutrient problem, as the roots are unable to take up essential nutrients and deliver them to the plant.
The Solution
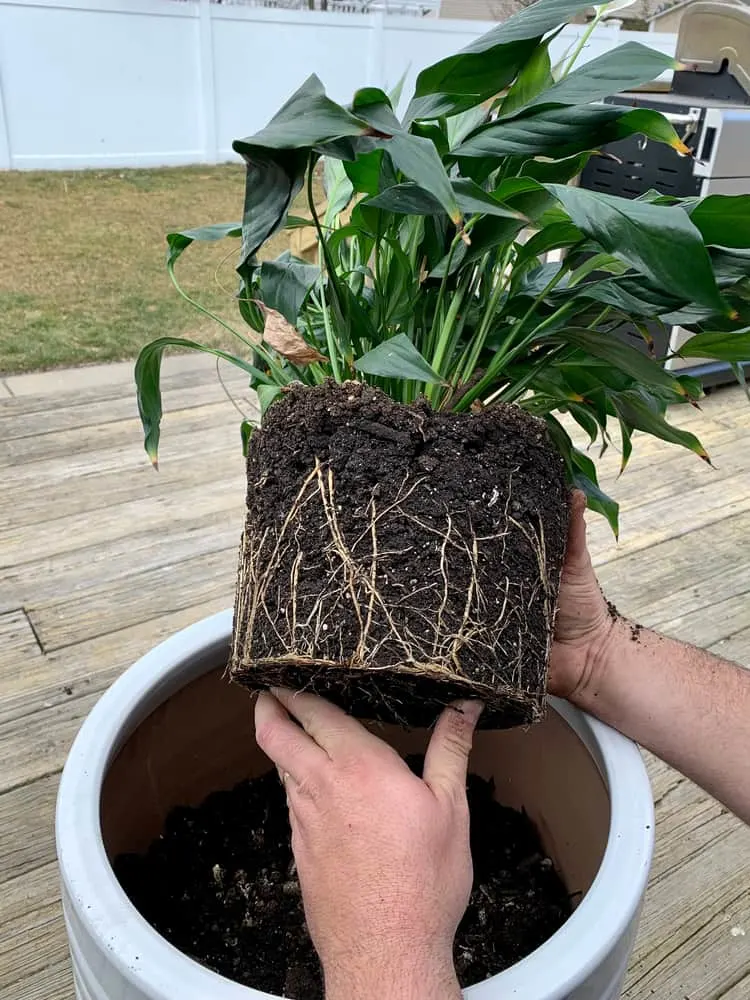
The ideal solution would be to conduct a soil test, but that’s not particularly common practice for indoor plants. Instead, give your peace lily a small dose of a balanced liquid fertilizer and wait a couple of weeks to see if that fixes the problem.
In the long term, when dealing with nutrient issues, repotting won’t hurt either. Eventually, soil quality in pots becomes poor as nutrients leach out and the structure breaks down.
Give your plant a soil refresh and new pot and after a minor adjustment period, it should return to normal.
Take a look at our dedicated guide to repotting your peace lily here – including five warning signs it’s time to repot.
6. Pests and Diseases
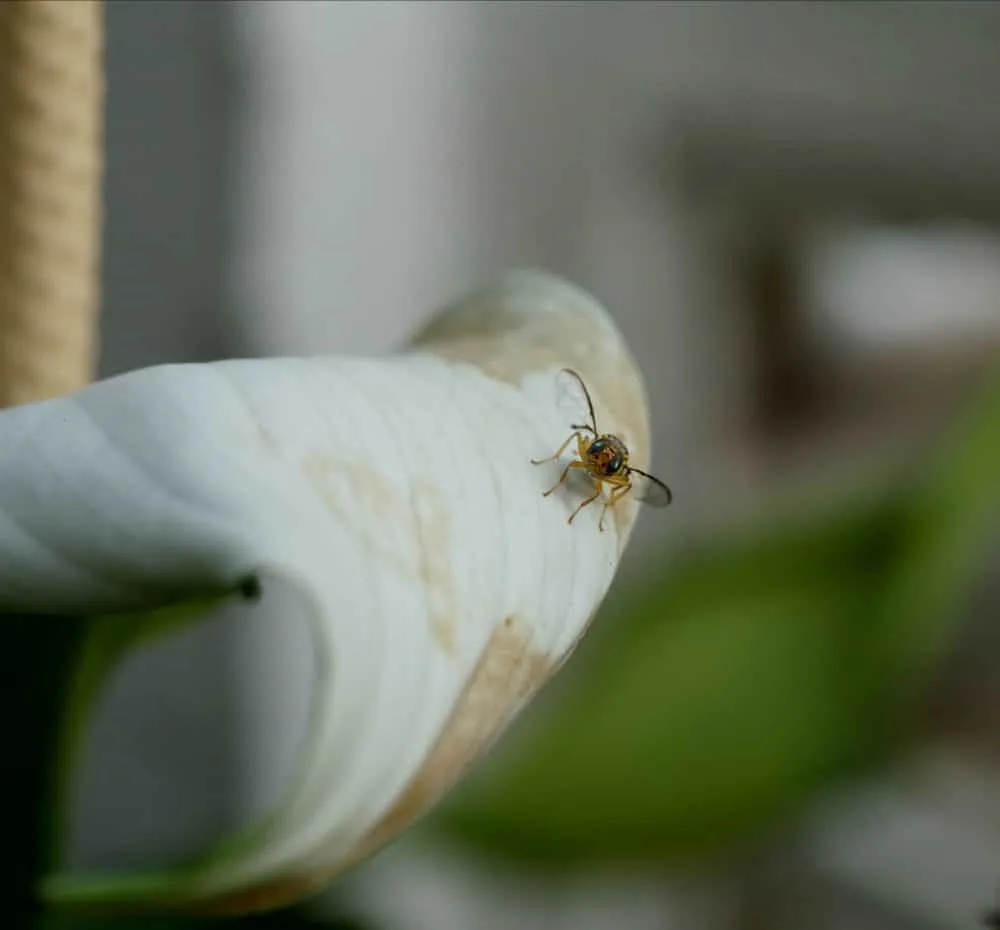
Pests don’t often plague peace lilies, but you might have to tackle the occasional aphid, mealybug, or spider mite infestation – especially if your peace lily is indoors.
The presence of these pesky little bugs can be a major stressor for your plants, which can ultimately lead to yellowing leaves.
It’s the same for the small number of diseases that can infect peace lilies. These include root rot and Phytophthora parasitica fungi, a fungal disease.
The Solution
Getting rid of pests that have taken residence on your peace lilies is quite simple. General good care and plant placement should prevent them from infesting your plants.
But, if you do spot an aphid or two, removing them is easy. Simply pick them off the leaves and squish them between your fingers or pop them into a jar of soapy water. You could also jet them off using a spray water bottle.
When it comes to spider mites or mealybugs, a simple neem oil spray should get them off your peace lilies in no time.
Unfortunately, fungal diseases gripping your peace lily are a serious concern. If the infection is bad, you may need to discard your peace lily before the disease can spread. It’s best to prune away any affected leaves if you spot any grey or black fungal growth and keep an eye out for signs of escalation.
Good plant hygiene and proper care practices should keep any pests and diseases from taking hold of your peace lilies, especially indoors.
7. Age
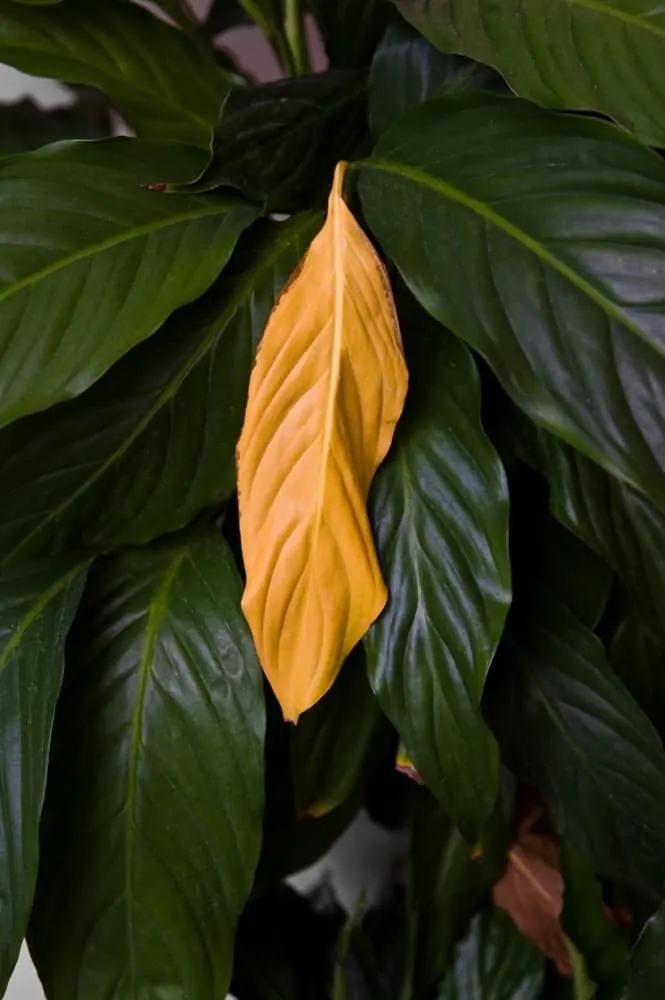
Yellowing leaves isn’t always a point of concern. Sometimes, it’s quite simply nature taking its course.
As with most plants, older leaves will yellow and eventually dry out, falling off as your plant redirects all its energy to newer growth.
The Solution
As you may have already guessed, there is no cure to the natural process of aging (unless of course, you believe in vampires or fountains of eternal youth).
You can simply prune these older, yellow leaves or wait for the plant to drop them naturally. However, always make sure you practice good garden hygiene and remove any dead leaves and plant debris from around the base of your peace lilies once they have dropped. You’ll prevent any pests and diseases from taking hold this way.
Yellow peace lily leaves can be caused by several plant stressors, from temperature fluctuations to incorrect watering or pests and diseases.
Unfortunately, even if you implement the solutions laid out in this article, yellowed leaves will never return to their former green glory. You can prune unsightly leaves away for aesthetic purposes, but be careful not to over prune, and always try to solve the problem before you go cutting off too many yellowed leaves and increasing stress.
