One lingering side-effect of my first career as an EFL teacher is the constant nerding out over words. Or perhaps it was what pushed me into teaching languages in the first place (for about a decade) and then becoming a writer (for a decade and counting).
I like to share my hobbies, so I have a new word for you today. Let’s see if we can nerd out over this one together. Have you heard of the term “temperennials”? What do you think it means?
If you’re thinking about a moody perennial with a bad temperament, you’re close, but not quite right. A temperennial is a plant that is perennial in some warmer (temperate) areas, but not in colder areas.
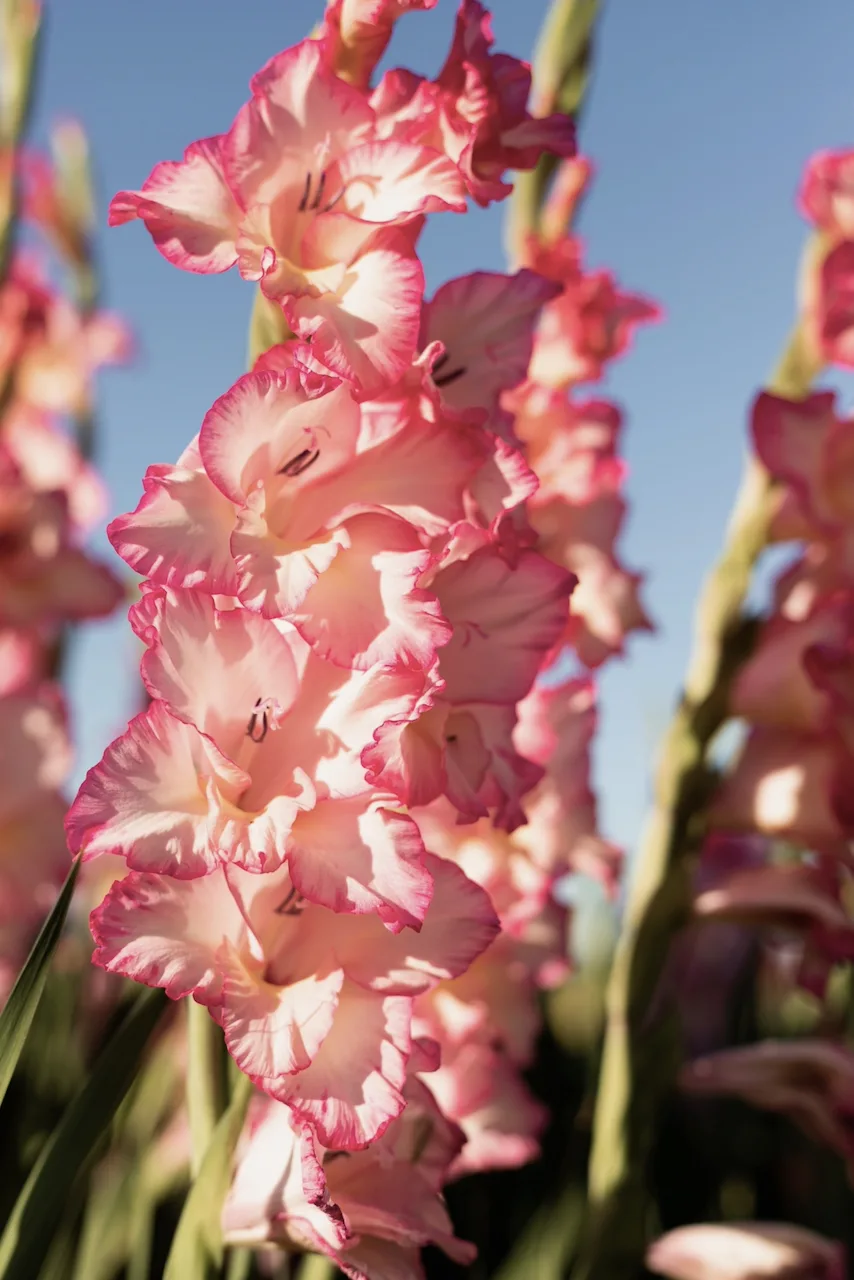
Gladioli are a very good example of temperennials because they behave as perennials in USDA Hardiness Zones 7 and warmer while at the same time behaving as annuals in Zones 6 and colder. Sometimes, even gardening Zone 7 can be a gray area of hit-or-miss for these plants.
That’s why you’ll see contradictory answers to the question: Can I overwinter my gladioli in the ground?
A hard freeze will likely kill your gladioli.
Like all summer-flowering bulbs, gladioli are tender bulbs. This means that while a frost won’t kill them, a hard freeze most certainly will.
A hard freeze is at least an hour or more of the temperature dropping below 28F (-3C or colder). So when you hear that a plant can’t handle a “hard freeze for an extended period of time,” don’t think in terms of days, but hours. It’s not me, it’s the National Weather Service that defines it.
If you live in an area that is likely to get this cold, now is the time to dig out your gladioli and store them indoors for planting next spring.
When’s the best time to lift gladioli?
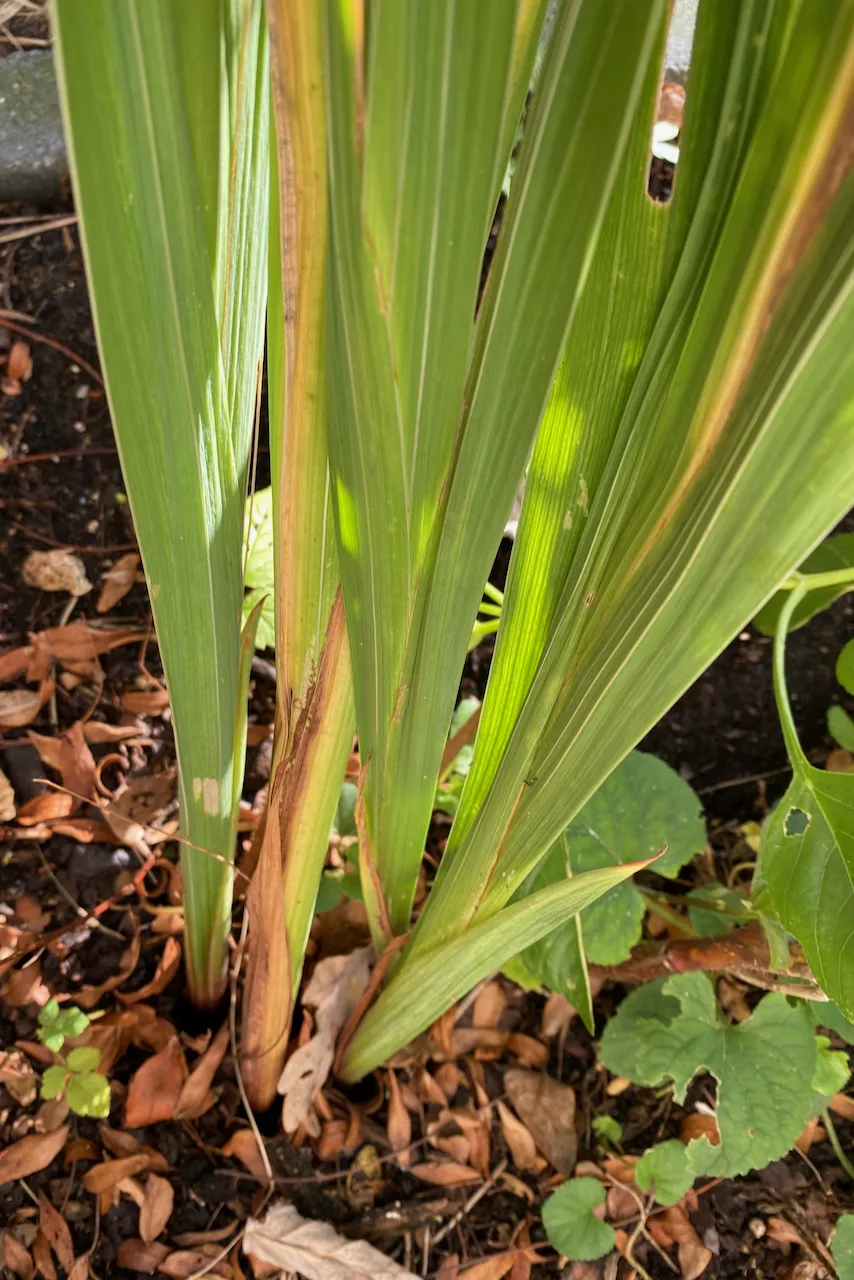
The same advice that I usually give for tulips and other bulbs applies to gladioli as well. Leave them in the ground for as long as possible to allow for the foliage to capture and store energy. This energy will be used by the bulbs next year.
If we’re lucky, the foliage will be completely dried out before we have to pull out the bulbs. But some years it may be a bit too risky to wait for that to happen naturally.
Since hard freezes tend to first occur overnight in my area, there’s no way I would get mobilized fast enough to start digging in the garden in my pajamas.
This year, I’m being proactive and digging out my gladiolus corms at the end of November.
At this point, it’s been almost three months since the flowers were done blooming, so I think they’ve had enough time to store energy.
Here’s how I lift and store my gladioli:
Step 1: Carefully dig out the corms.
It’s not rocket science, but it’s very important to go wide with the spade in order to avoid damaging the corms in the process. You can try to use the remaining leaves as a lever to pull the bulbs out of the ground.
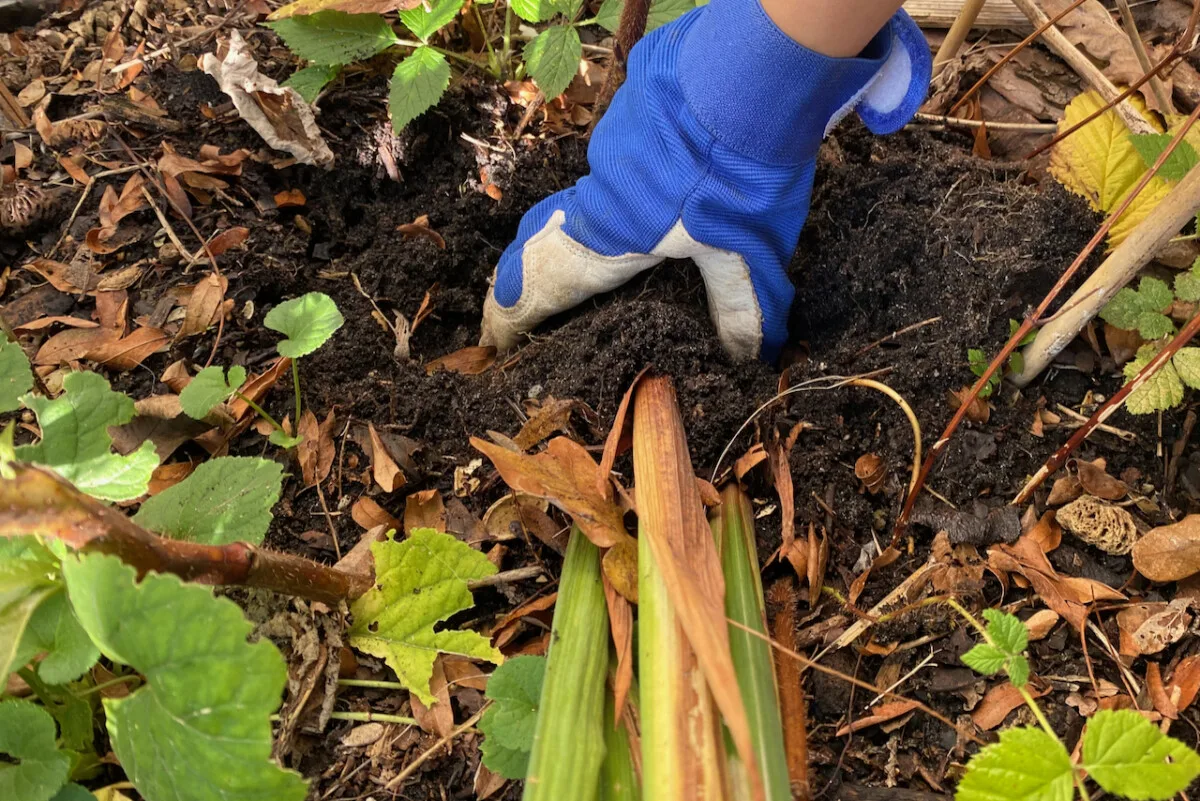
But you may also have the unexpected surprise of losing your balance when the stem “handle” comes off the bulb and you’re just left holding a bunch of leaves with the bulb still in the ground.
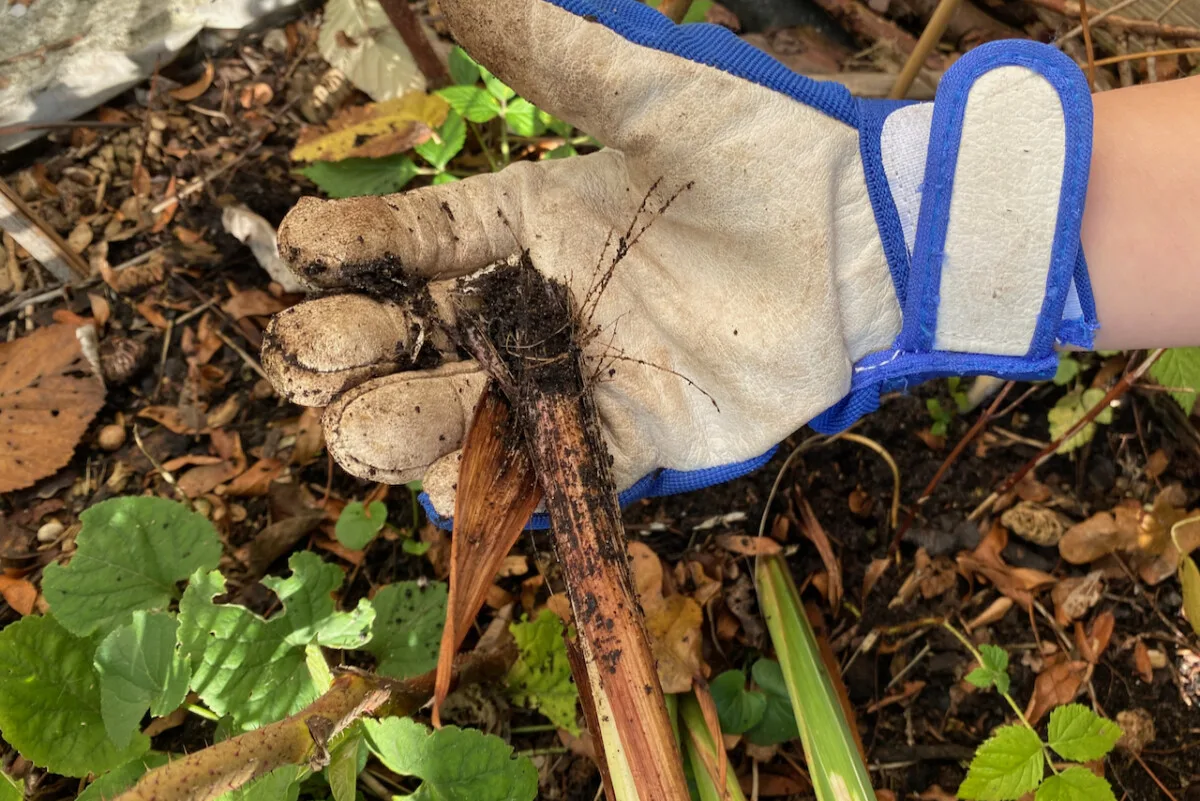
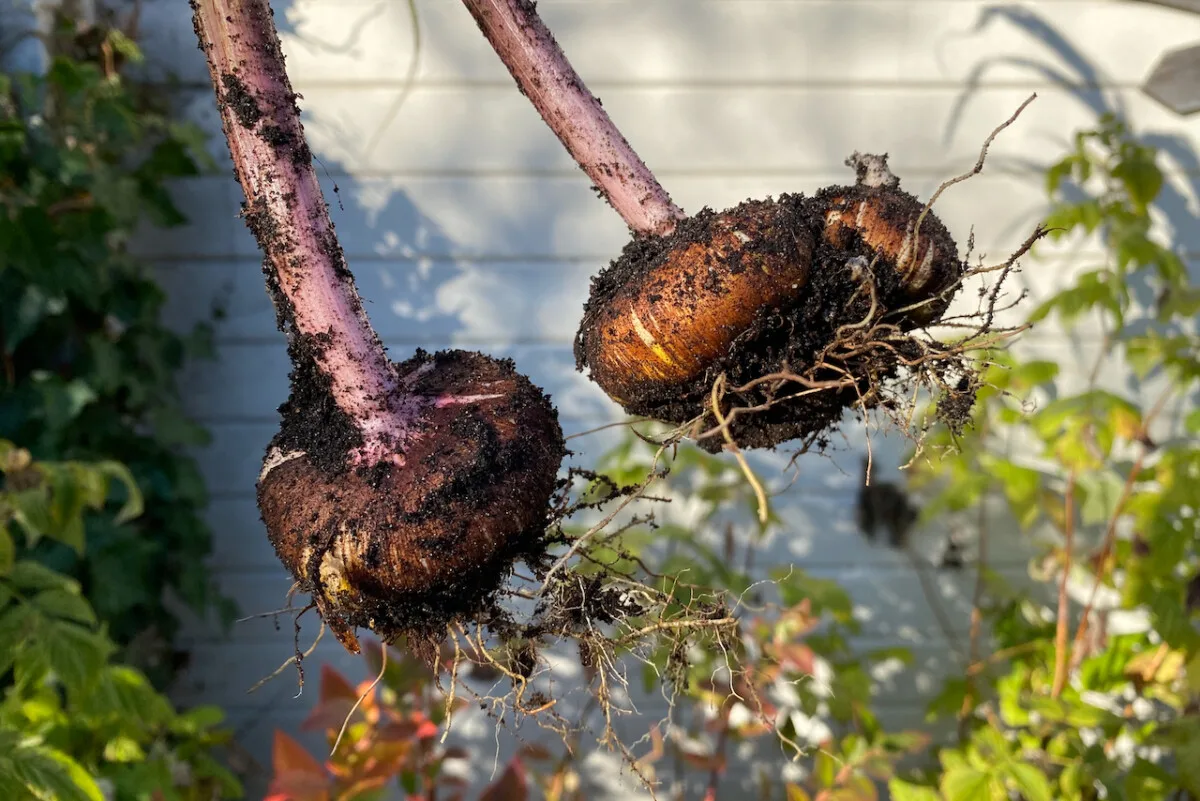
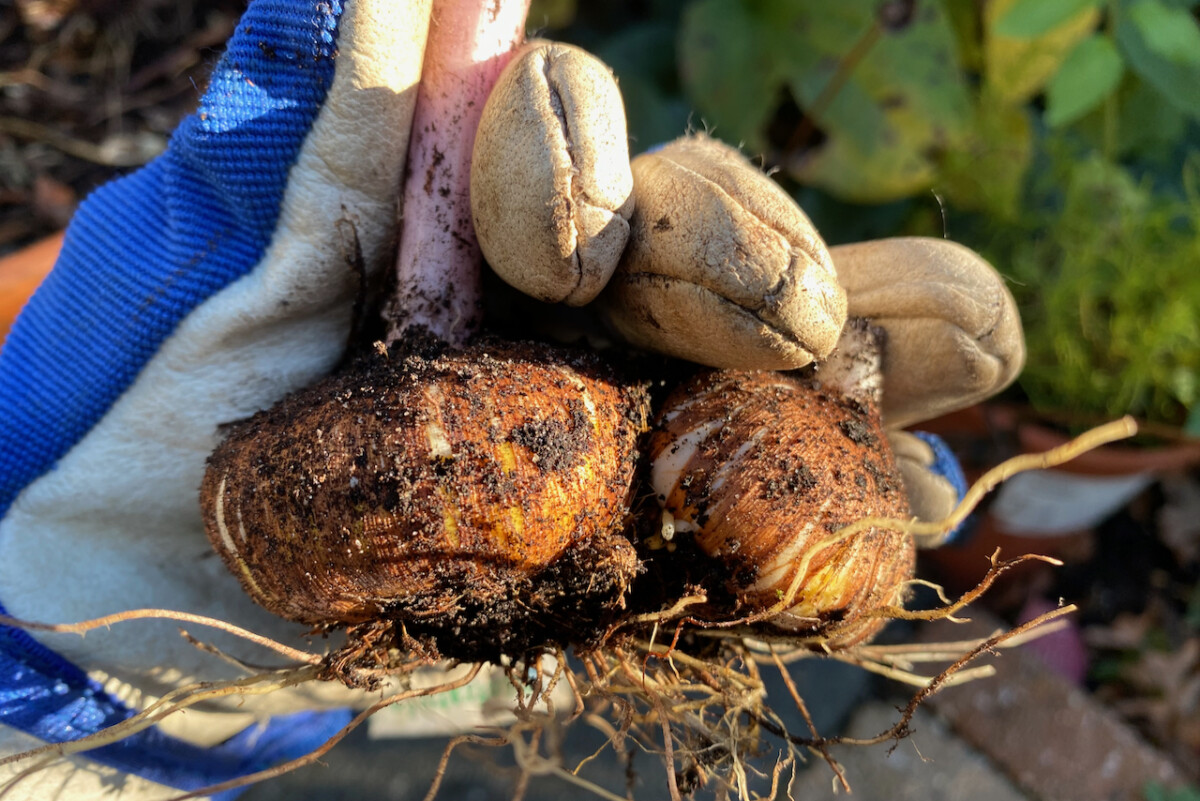
And speaking of an unexpected surprise, have a look at this double act I uncovered. Not all the corms had doubled, but these ones (in a sunnier spot) had.
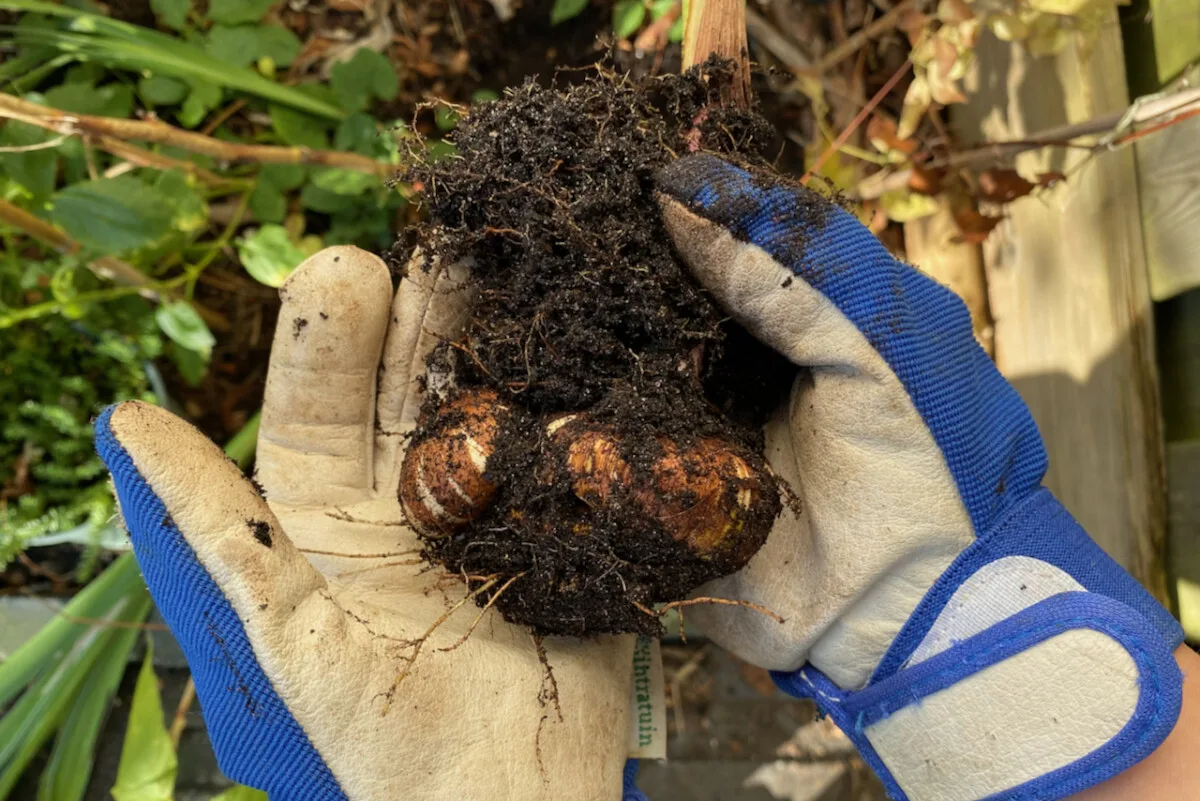
Step 2: Clean up the gladioli bulbs.
Now that you have a bunch of bulbs that may or may not have the leaves attached, it’s time to clean them up.
Start by shaking off all the loose soil, but don’t soak or wash the bulbs.
For the ones that still have green leaves, I trim off the leaves, leaving about five inches of stem on the bulb (for now). You can trim them even lower. I’ll do this at a later point, after the corms have dried out for a bit.
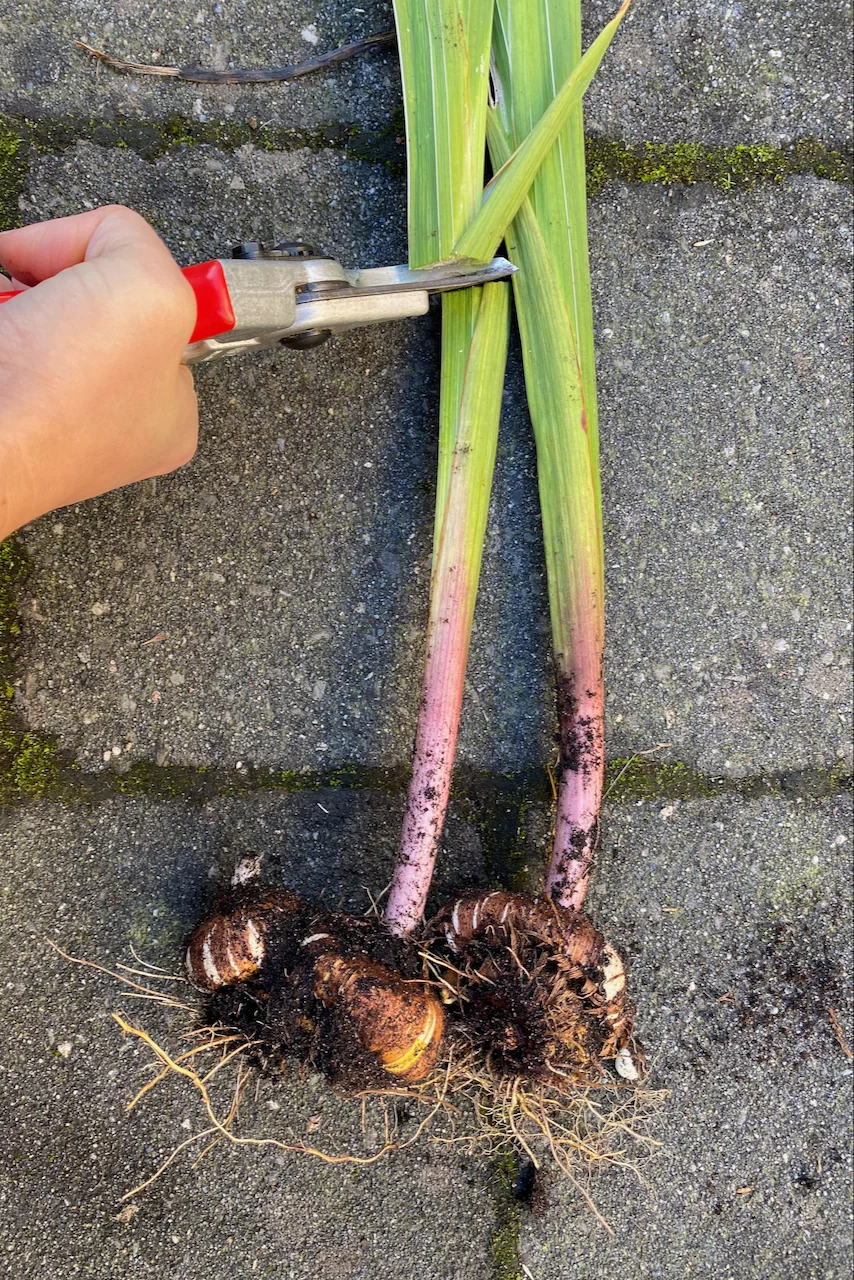
You may also notice a few clusters of tiny bulbs around every single corm. These are the babies and they’re called cormels. They will become plants in their own right, but not just yet. For now, we’ll leave them attached to the main bulb. I’ll come back to them later in the article.
And here comes the fun part.
Let’s find the pancake!
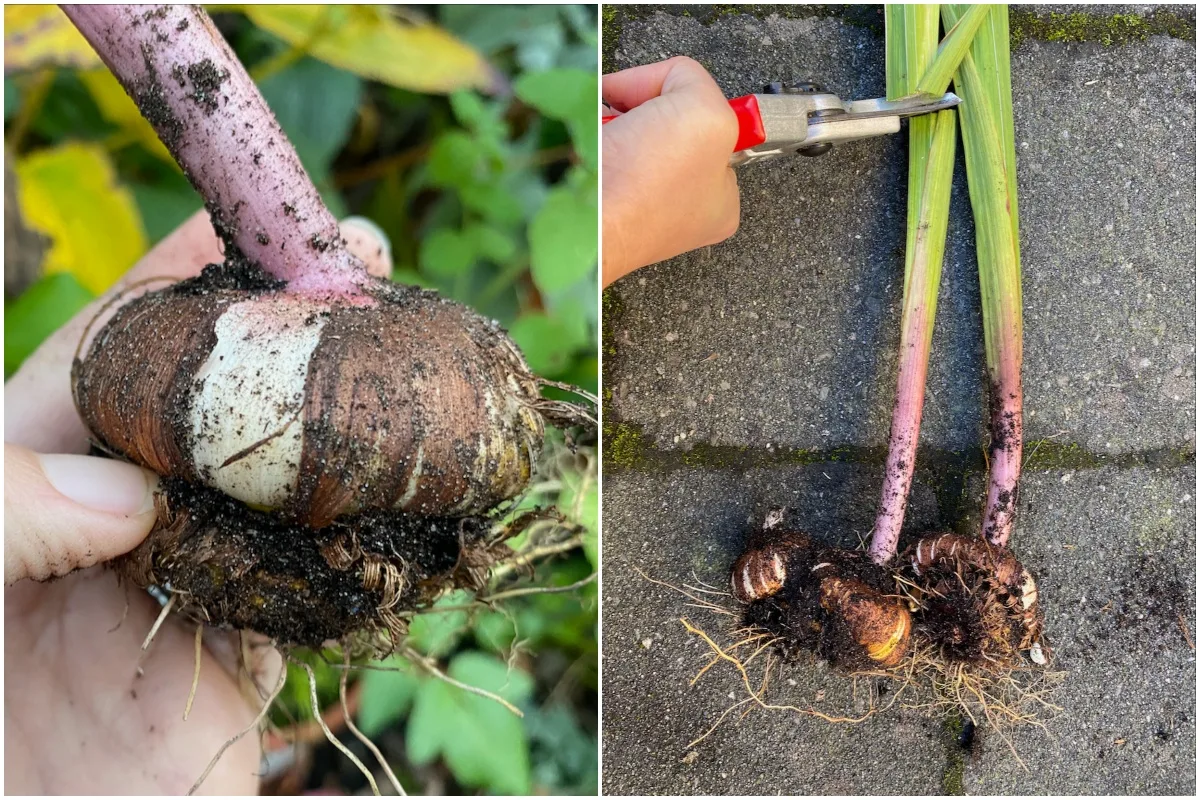
Rotate the bulb and see if you can find the mother-bulb. It kind of looks like a flat pattie on the bottom of the young bulb that you’ve just pulled out. Some gardeners call that a double-decker, but I prefer the more gastronomic imagery of a pancake.
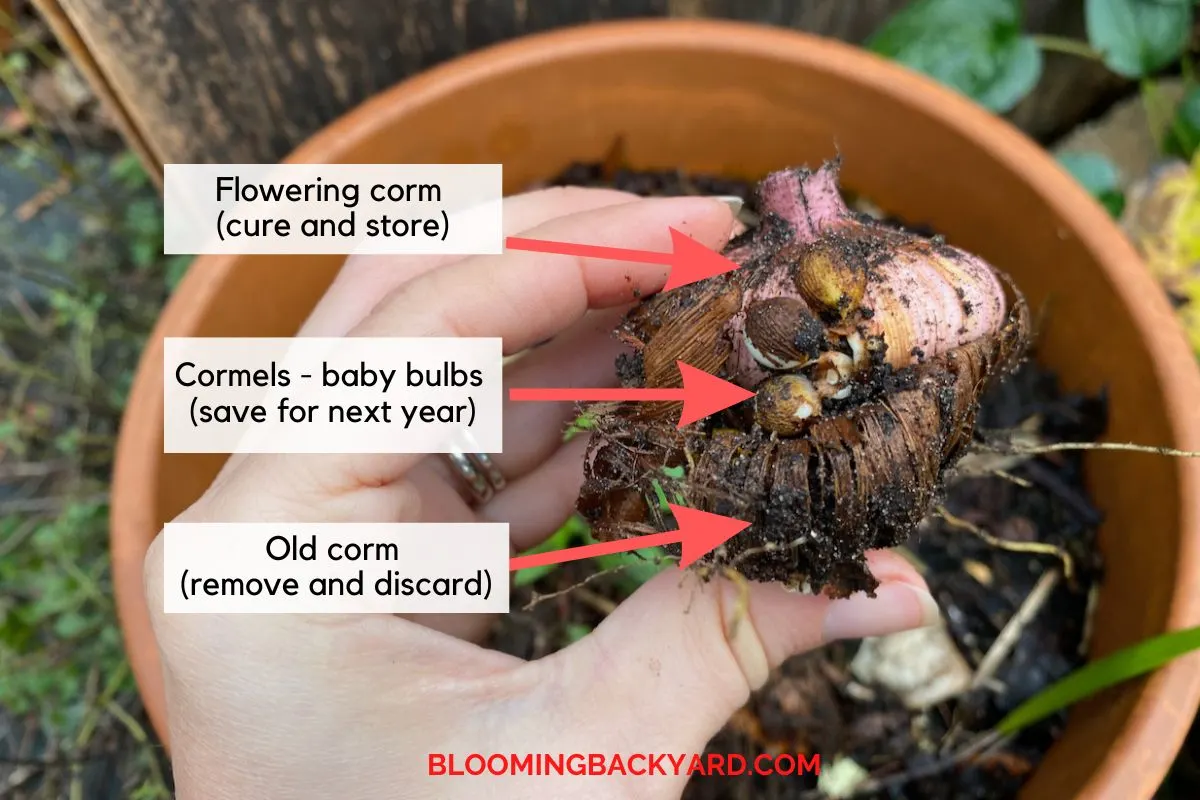
This pancake is the old bulb.
The one that we planted out in spring.
Unlike spring bulbs, such as tulips and hyacinths, gladioli corms don’t sprout from the same structure. They spend most of spring growing a new “head” stacked on top of the old one, kind of like a snowman. It’s this new corm that blooms in the summer. If you can’t find the old bulb, chances are it may have already dried up and come off under ground.
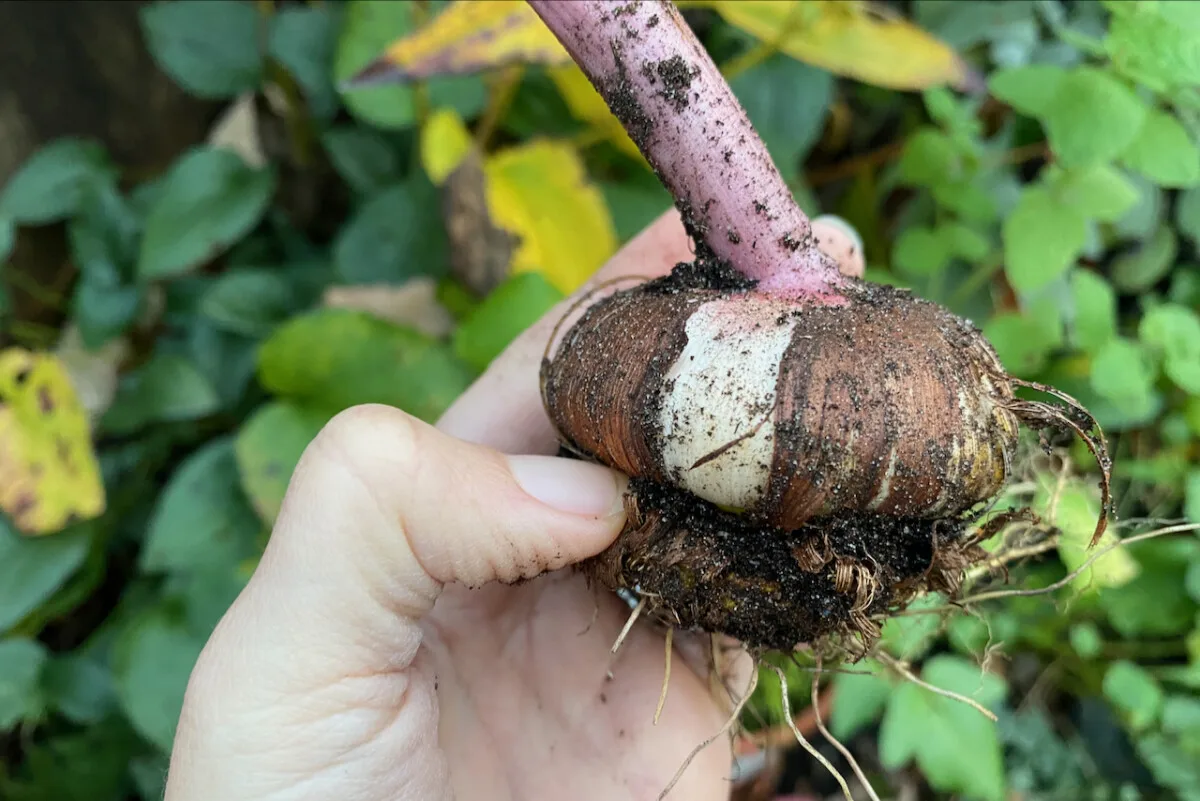
(I’ve used bulbs and corms interchangeably in this article to avoid repeating the same word too often. But this is one of the main differences between them. Corms will grow stacked while bulbs will grow side by side.)
We have to remove this old corm before we store the young ones for winter. We can do this now, before we cure the gladioli, or we can wait to do it once it’s a bit drier.
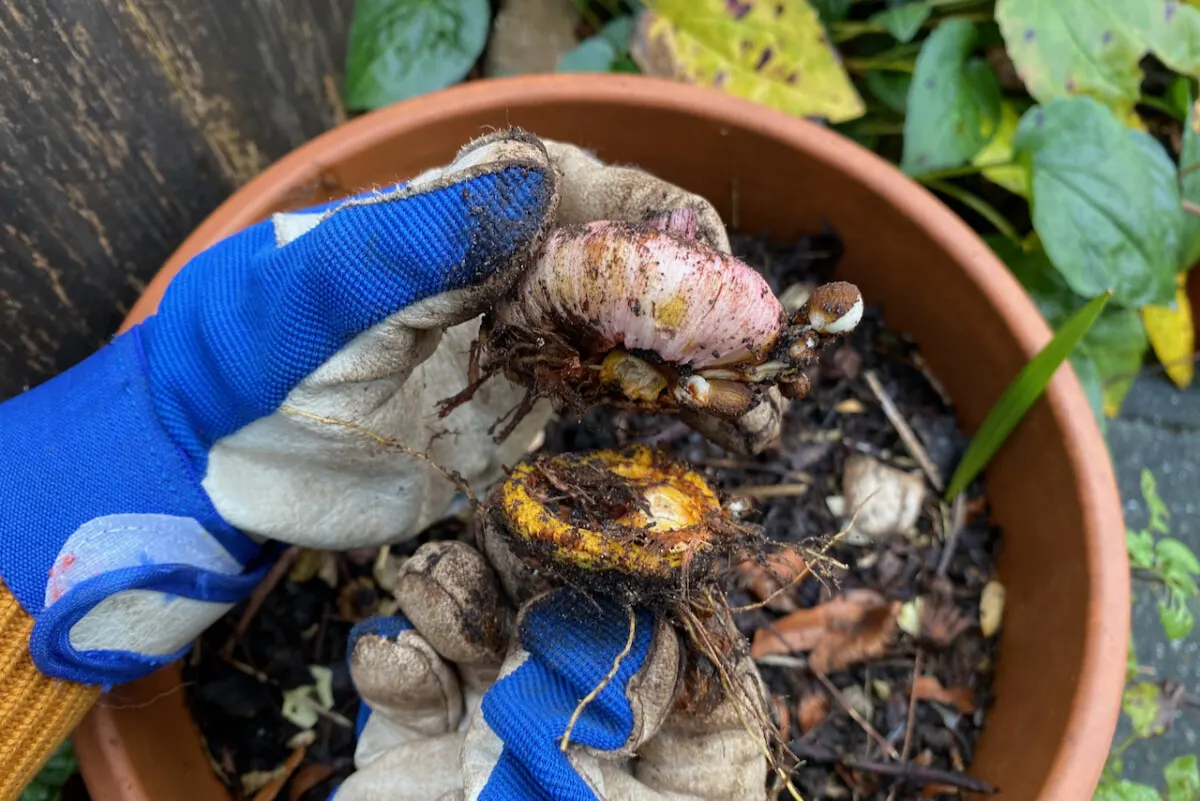
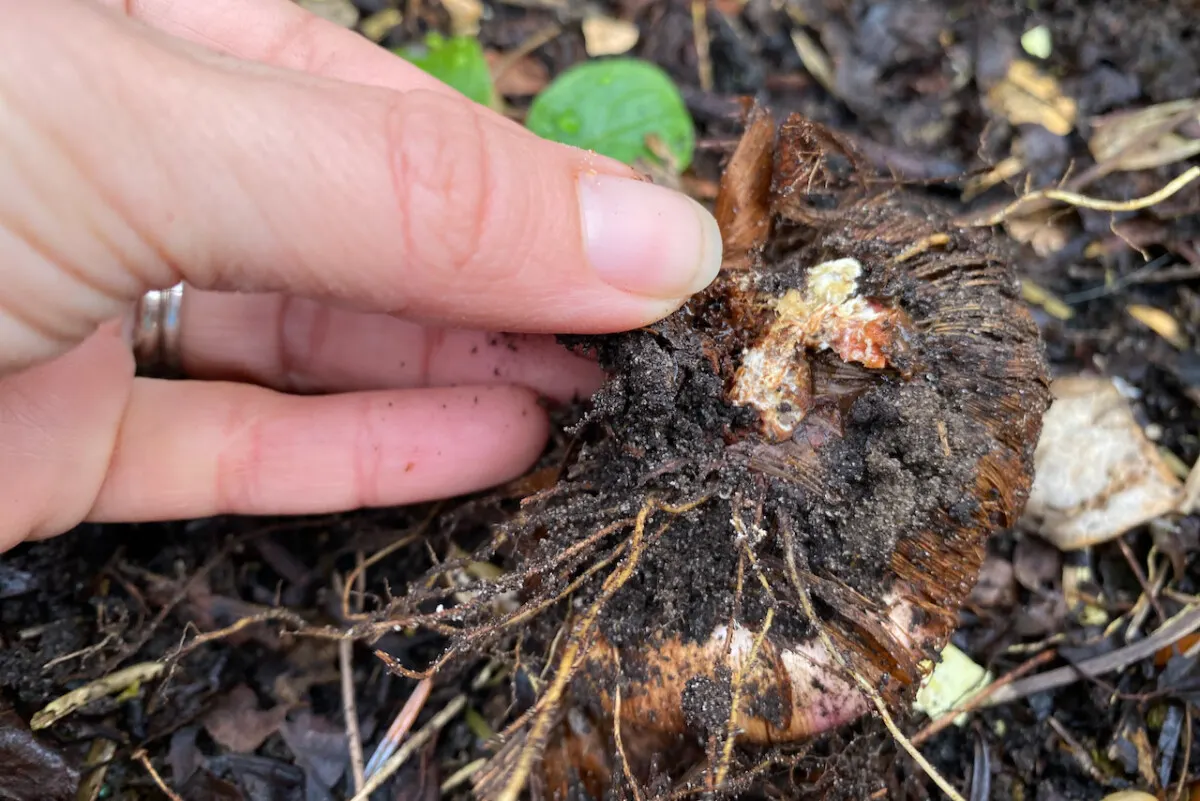
Give it a try and see if it comes off. For most of my gladioli, the attached bulb came off easily. And it’s a good thing too, because some of them were really rotting. They were very soft and mushy and had the consistency of cream cheese.
Step 3: Cure the gladioli bulbs.
Before we put the bulbs into a more permanent storage location, we have to make sure that they are completely dry.
With spring bulbs, it would be enough to leave them out in the sun for a few days. Unfortunately, because it’s the end of November, curing bulbs outdoors is no longer an option. There’s very little sun, it’s way too humid and the temperature could dip below freezing at any point.
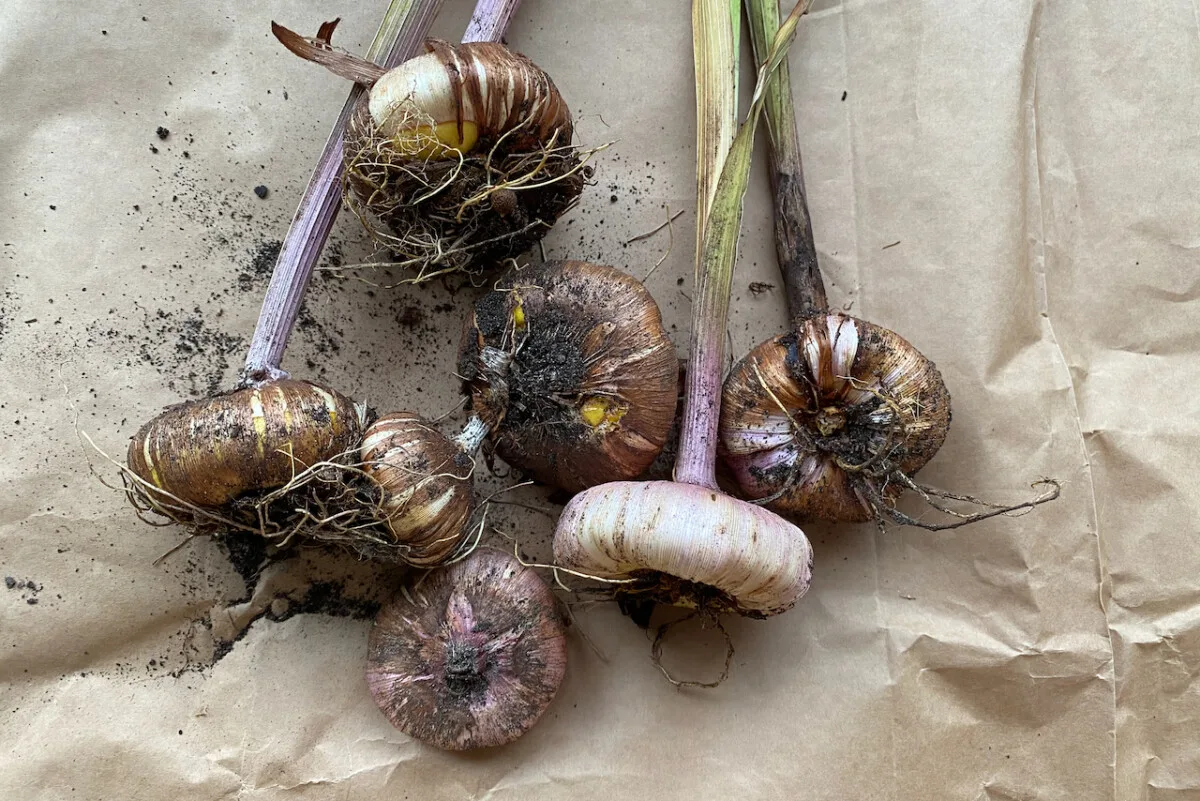
I take my corms indoors and spread them out for drying on a sheet of brown paper or an old towel. They usually end up on top of a bookshelf or a kitchen cabinet, where the heat rises and they’re out of the way of nosey cats. Wherever you cure them, make sure it’s dry and well-ventilated. We must avoid rot at all costs at this point.
It takes a couple of weeks for the corms to be completely dry. If the old spent bulb was hard to remove when we pulled out the corms, it should be dry enough by now to make it easier to pull it apart.
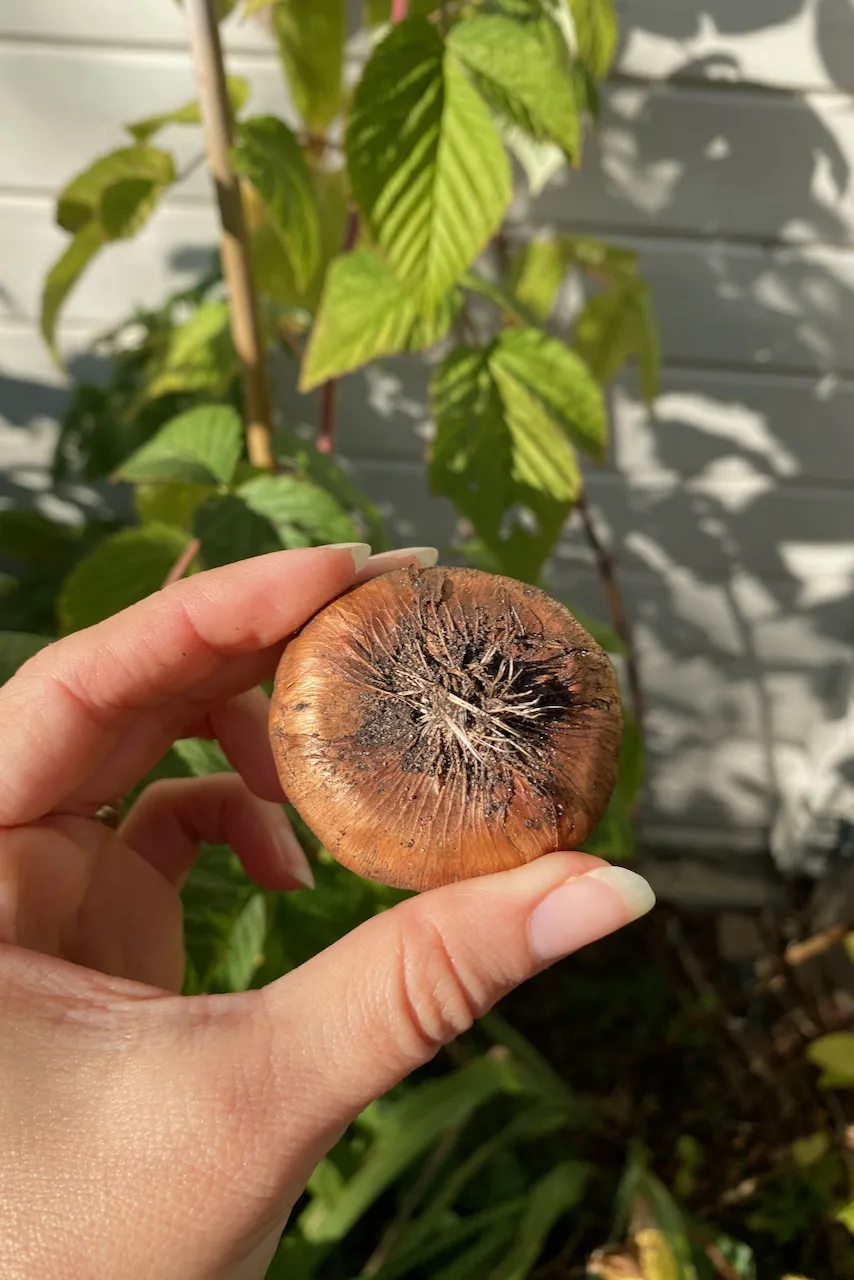
Just please don’t be tempted to also rip off the protective husk. Just think of it as storing an unpeeled head of garlic until you’re ready to use it.
The cormels (baby bulbs) might also be dry enough to come off on their own. If they do, I collect them and store them together. If they don’t, I’ll leave them attached until next spring.
Step 4: Pack and store the gladioli corms.
Another important detail that I need to mention here is: don’t store your bulbs long-term in the same spot where you cured them.
We want to cure them in a warm spot to facilitate fast drying. We want to store them in a cool spot to prevent them from coming out of dormancy and sprouting too early. Again, being in a dark, dry and well-ventilated place is a key to long-term storage for bulbs. A temperature of about 35-50F (2-10C) should be optimal.
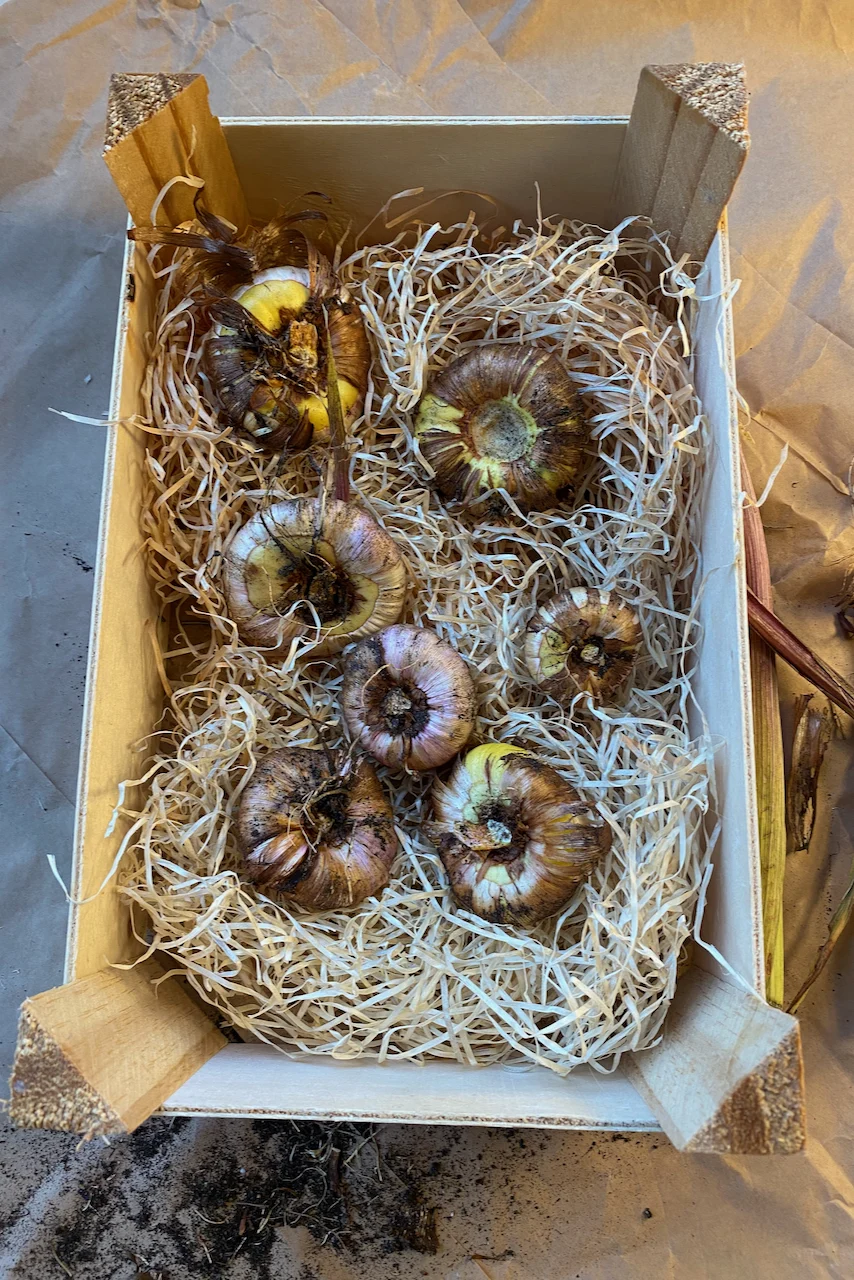
I store my bulbs in perforated paper bags. They’re the same bags that I bought them in, which I keep saving and reusing every year. When I have too much overflow, I will also store them in mesh bags or in covered crates with some moisture absorbent material such as wood shavings (also saved from various purchases).
What should we do with the tiny corms (cormels)?
We can store them in the same spot as their older family members. But if I have too many of them, I usually select the largest ones to store for next year and compost the rest.
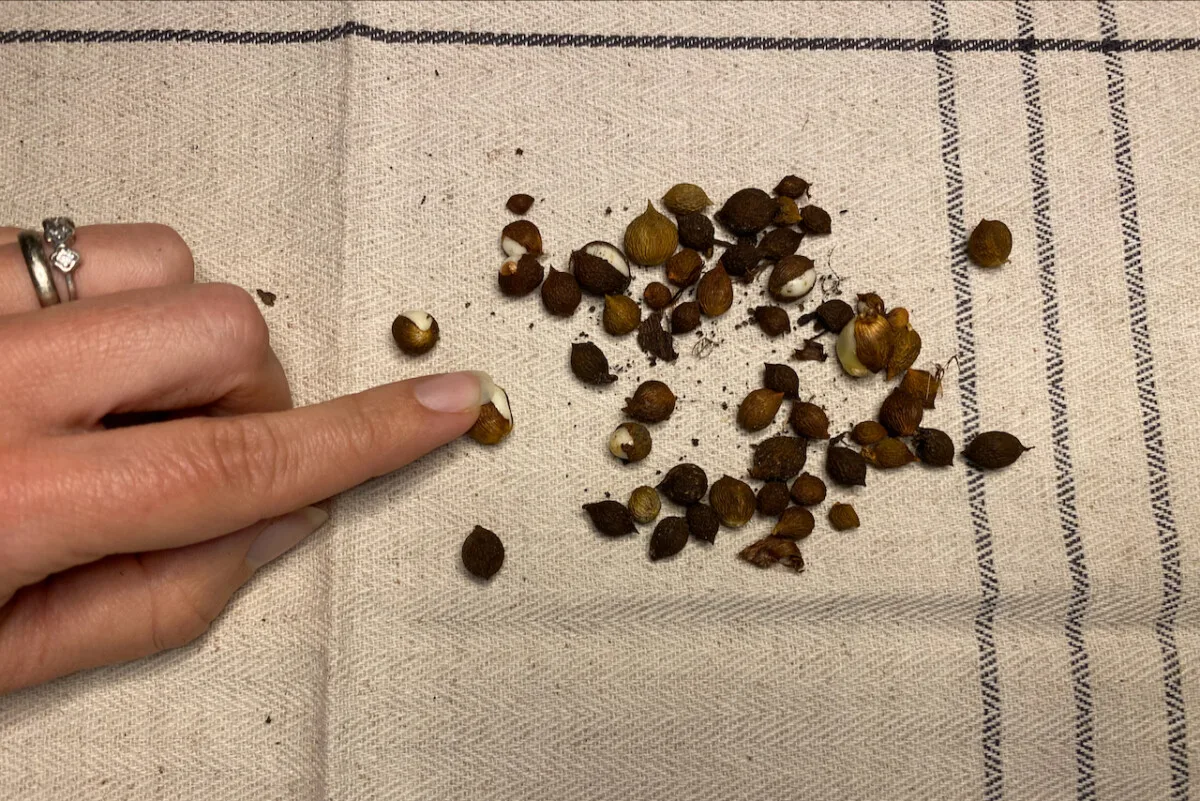
It will take these cormels at least a couple more years to turn into flower-bearing bulbs. So for the next couple of springs I’ll have to bury them, then dig them out again before winter. Don’t worry, they’ll grow tiny leaves in the meantime (but no flowers), so they’ll be easy to find and dig out.
This sounds too complicated! Can I just leave my gladioli in the ground?
Uff, I was afraid you were going to ask that. If you live in a gardening zone that’s likely to get hard frost over the winter months, you can risk it, of course.
To give your gladioli a fighting chance, the least you could do is apply a thick (THIIICK!) layer of mulch. You can use compost, pine needles, bark or pile up some dead leaves on top and around the corms.
To give yourself a fighting chance, emotionally, start getting used to the idea that your gladioli may behave like annuals. And start browsing some gardening catalogs for new cultivars to plant next spring.
While you’re at it, you can brush up on how to start gladioli in pots to get ahead of your growing season next year.

