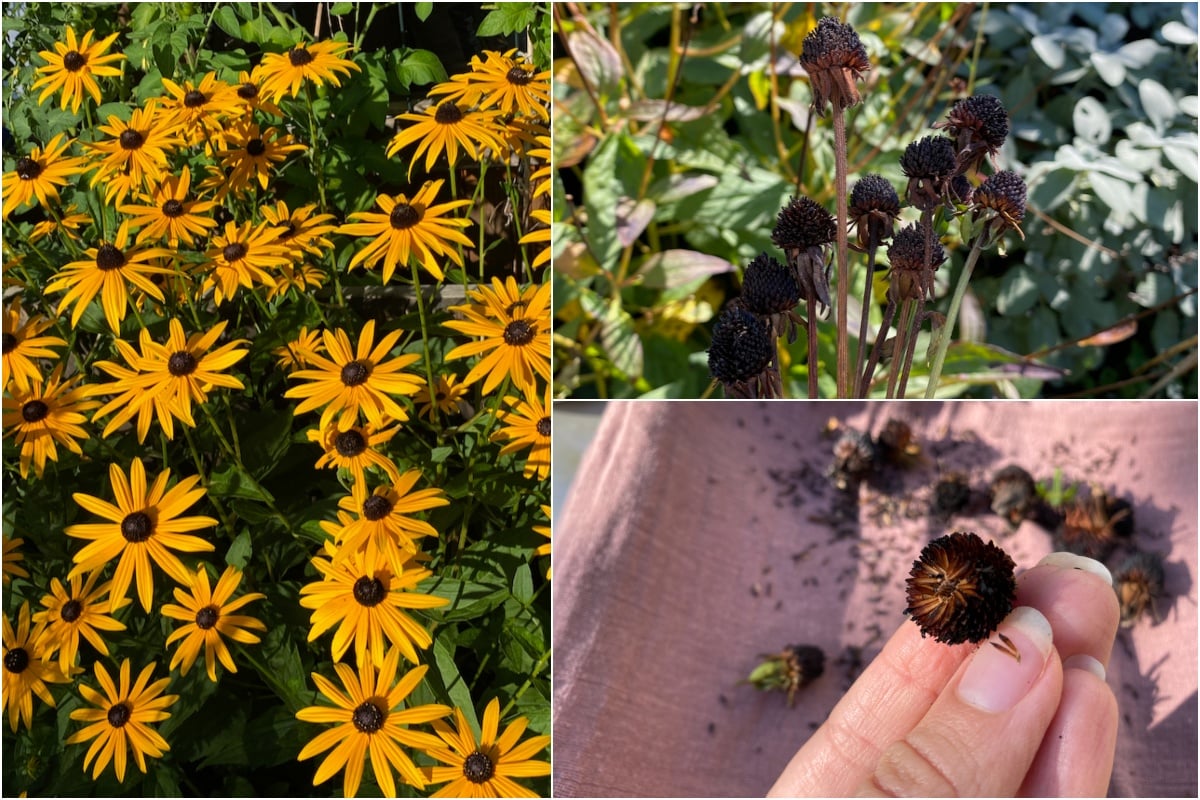
Every time I write about black-eyed Susans, I make it a point to mention how we shouldn’t prune these perennials in the fall. Not only do they look pretty covered in frost and snow, but they make an excellent source of food for birds over the winter months.

It seems that some of the bird population in my neighborhood has been reading my articles. How else could I explain the fact that they’ve descended upon my garden and decided to take their fair share of black-eyed Susan seed heads as early as November this year?
At first, I thought it was the job of a mouse, but I witnessed the theft in action from my home office window. As I was working on a gardening article, ironically.

The birds are more than welcome to their food, but I realized I’d better get to work saving black-eyed Susan seeds before they disappear overnight.
If collecting Rudbeckia seeds is also on your to-do list this month, here’s what I’d recommend you pay attention to.
Tip 1: You have to get the timing right.
When collecting black-eyed Susan seeds for saving, it’s all about the timing.
Over the years, I have learned that the more I mimic nature in my garden, the higher my chances of success. The same lesson applies with saving seeds – not just for Rudbeckia seeds, but for perennials in general.
Here’s what I mean: without any external (human) intervention, the seeds won’t come off the plant unless they’re really dry. And that often happens much later than we think. It seems we’re sometimes misguided in thinking that once the petals are shriveled and fall, the seed heads must also be ready.

They’re not. The seeds are fully viable only when the seed heads are fully mature.
For black-eyed Susans in particular, it can take more than a month between the time the petals have fallen and the time the seeds are ready for picking.
How can we tell when the seeds are ready?
Let’s have a look at the photos below. If the sepals are still green, the seeds aren’t fully ready yet. The seed head will also look slightly lighter in color and feel a bit more velvety to the touch.

If the sepals are fully brown or black and the seed head feels rough to the touch, then the black-eyed Susan seeds are ready for collection.
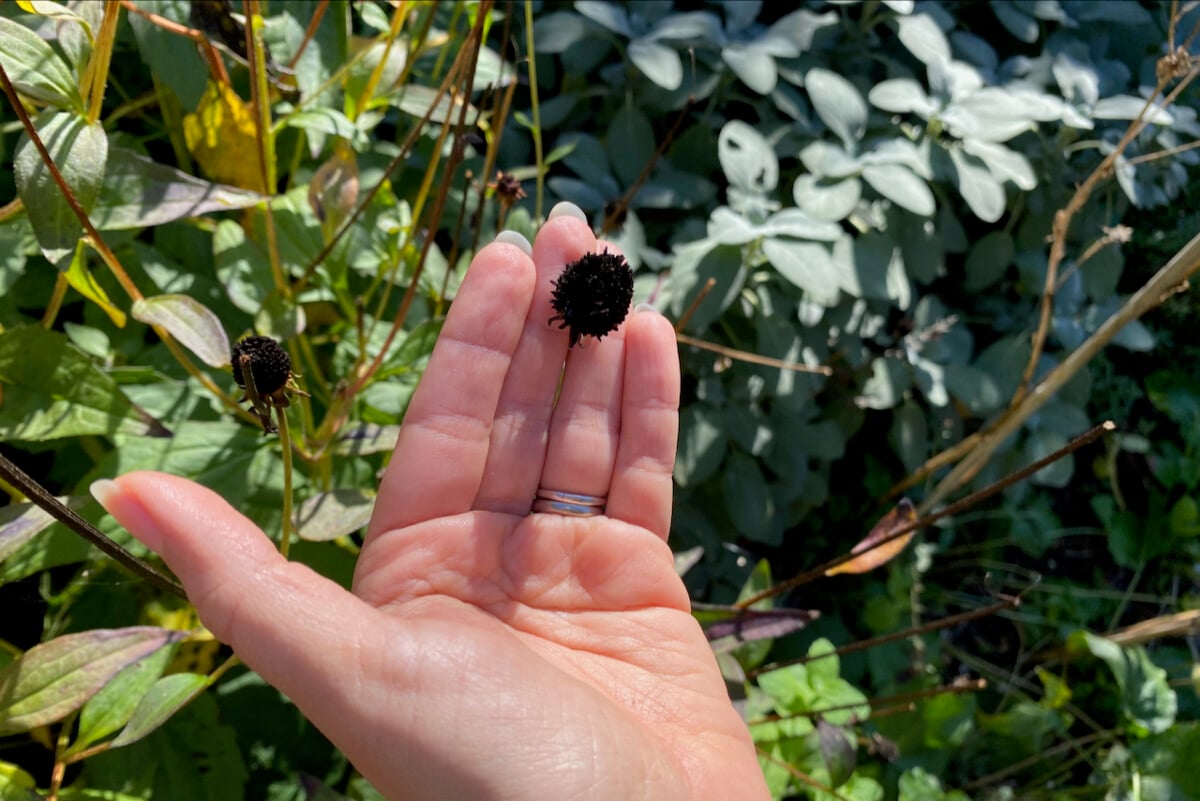
You can test them beforehand by giving them a gentle scratch with your fingernail. If there are seeds jumping out left and right from the pod, go ahead and collect them.
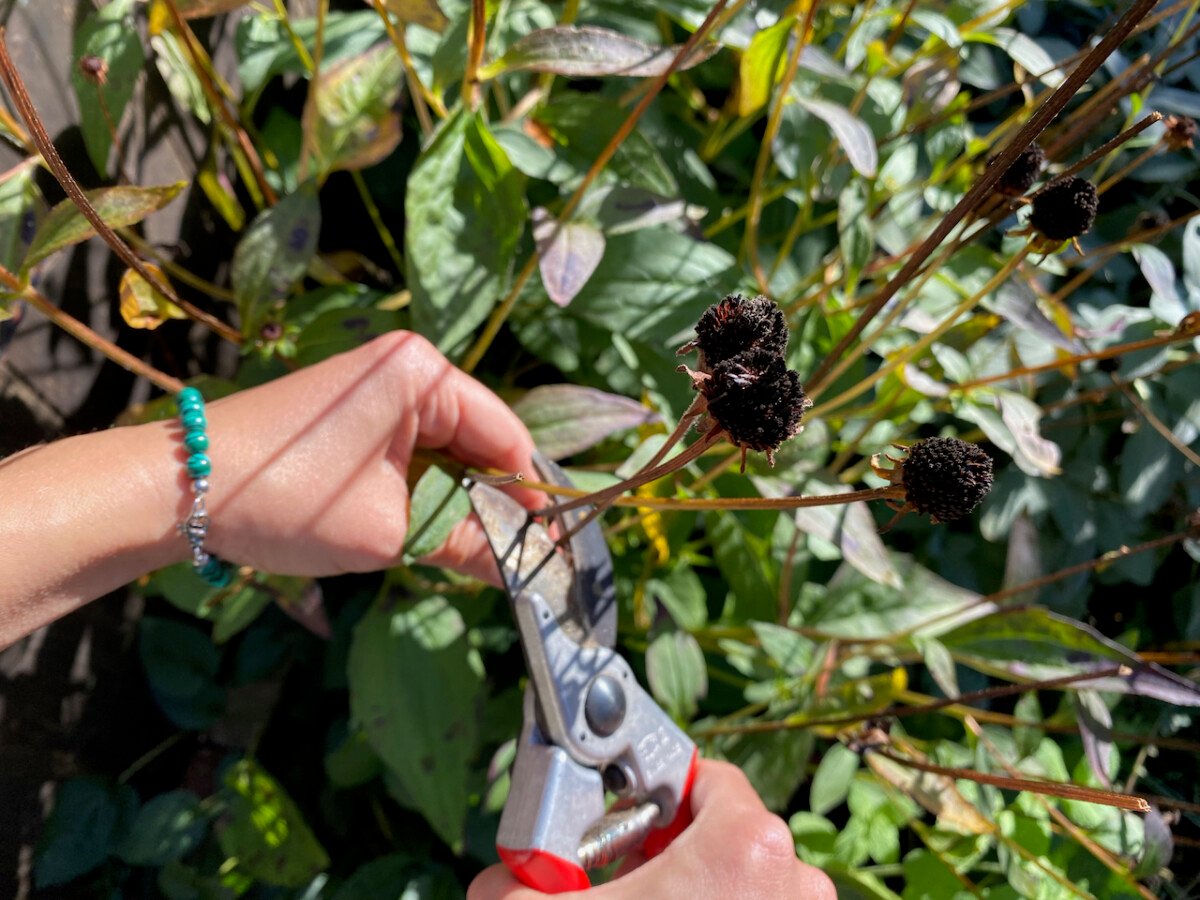
You can trim off just the seed heads – the brown-ish or black button-like eyes that the flowers are nicknamed after. I prefer to cut them lower down and keep a length of the stem attached, just for the convenience of maneuvering them.
Tip 2: Give them a thorough inspection.
If you’re collecting these seeds at the right time, chances are that as soon as you snap them off, they’ll self-seed like crazy. That’s perfectly fine, if that’s what you’re after.

I keep them contained in a jar as soon as I trim them off. This also allows the insects and spiders to make their way out. This year, they stayed in the jar for a day, until I got the chance to give them a once-over and spread them out on a tray.
Watch out for moldy seeds!
We’ve had a very damp fall around these parts, so I thought I should give the seed heads a thorough inspection. And I’m glad I did.
Can you see what I found on these three seed heads?
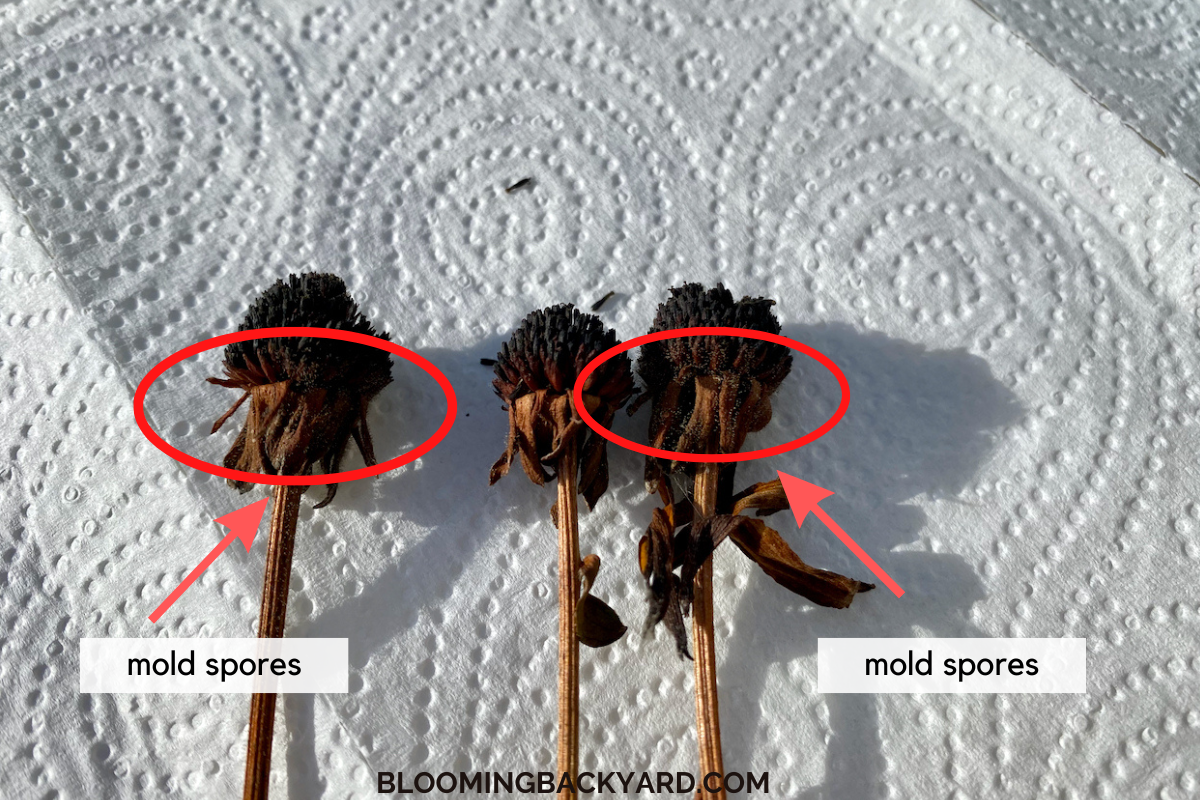
Yes, they were quite moldy. I don’t know if you can tell very well from the photo, but the tiny fuzzy dots on them are mold spores.
In hindsight, I should have paid better attention to the seed heads before I snipped them off the mother-plant. But I think the problem was that I couldn’t see the mold on the plant in the low November afternoon light.
These moldy seed heads went into the compost.
Tip 3: Be very thorough when you prepare the black-eyed Susan seeds for storage.
I’m very cautious and thorough when it comes to preparing seeds for storage. The black-eyed Susan seeds must be dry! And I cannot emphasize this enough.
I laid them on a tray on a kitchen towel and had them dry in the sun for an entire day. Then I moved the tray indoors to continue to dry the seeds for a few days.
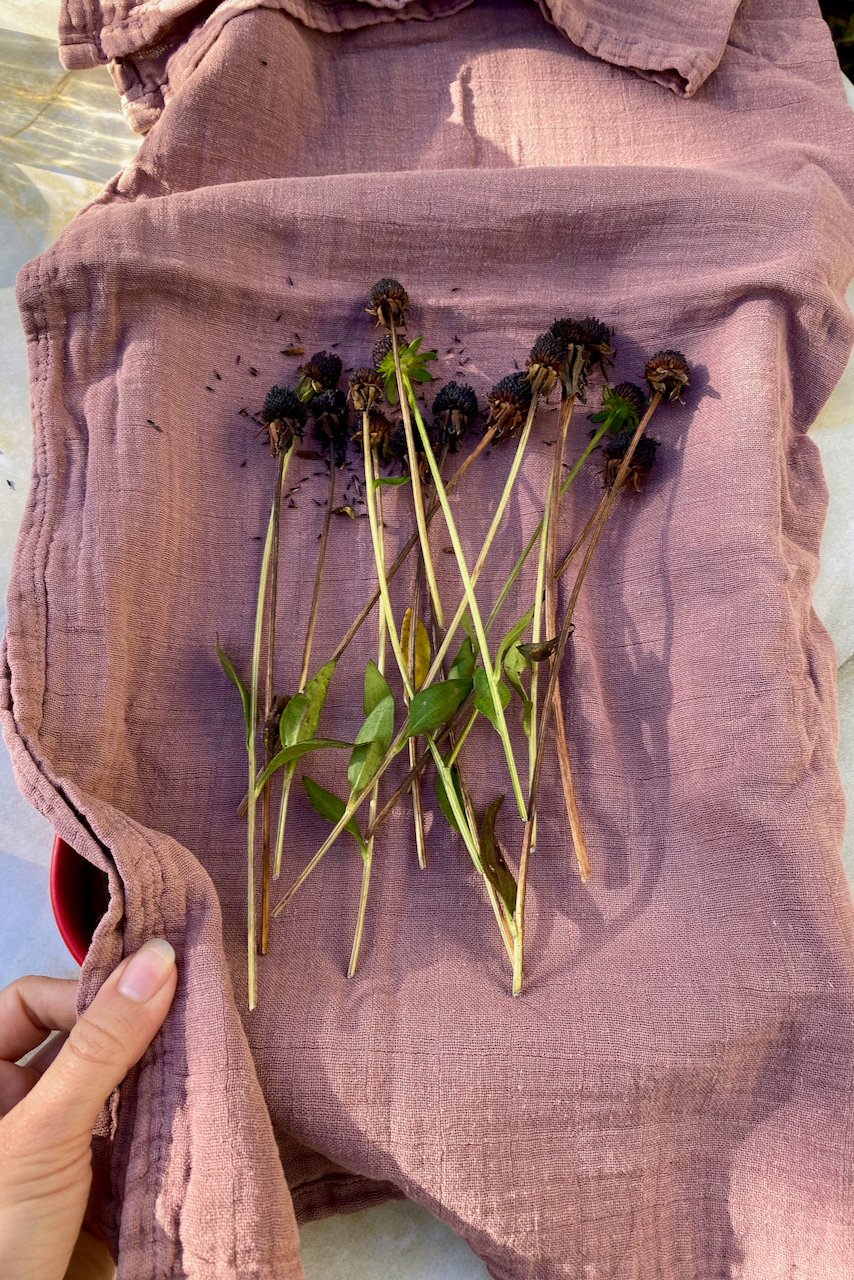
If you don’t have enough time to babysit drying Rudbeckia seeds, you can use your fingernail to gently scrape the pod and release the seeds. They will dry faster without the core of the seed head to keep them moist. But boy, will they make a mess.
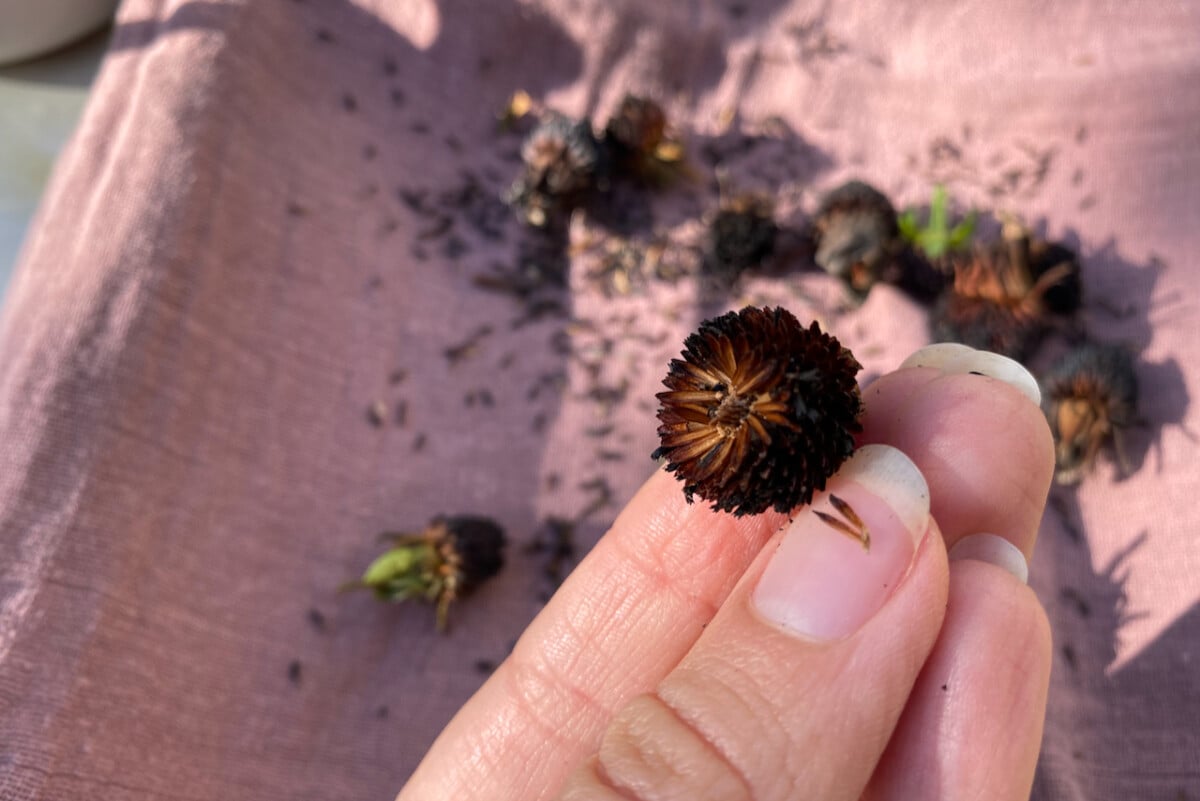
Be prepared to clean them up from everywhere because they will spread around like jumping beans. They’re meant to be dispersed by a strong wind, so they will be quite sensitive to being handled.
What about the chaff?
There is a lot of chaff mixed in with the black-eyed Susan seeds. You can see it in the photo below – it’s basically anything that’s not a viable black seed.
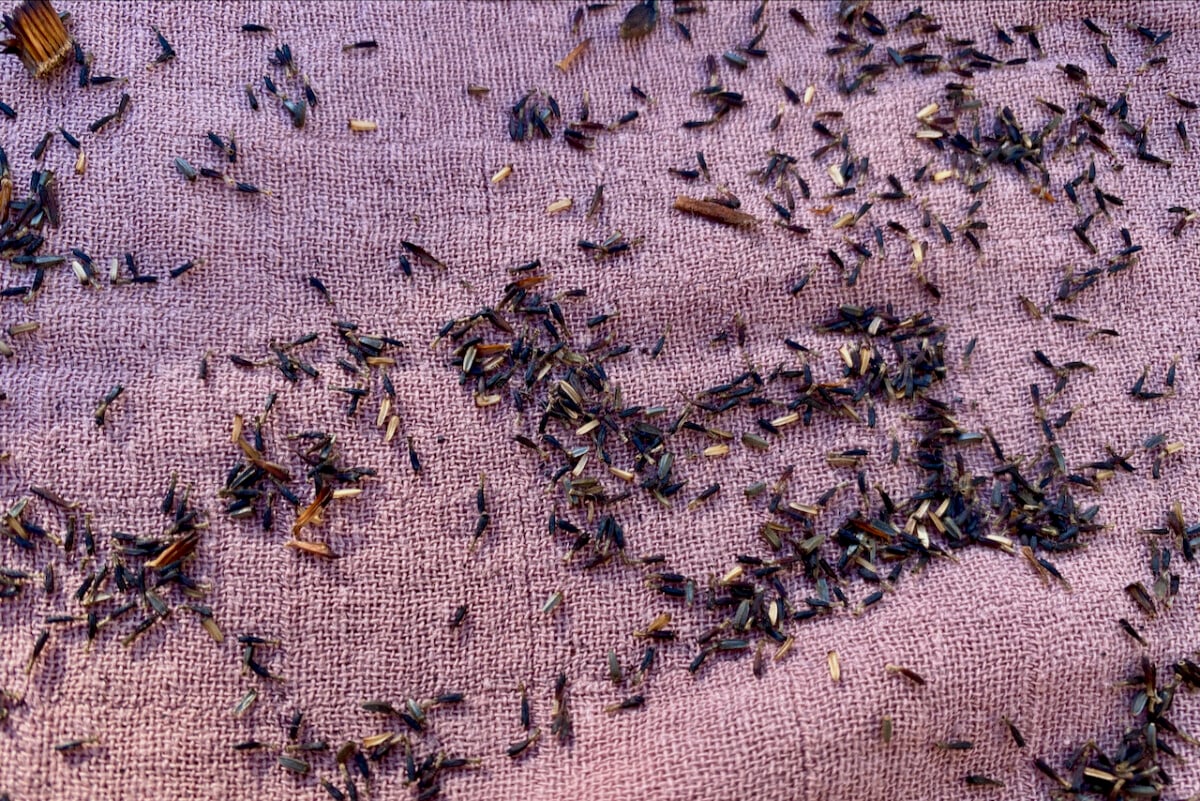
Since I’m not a commercial grower, I honestly never bother to separate the seeds from the chaff at this stage. The trick is remembering to do so if you’re starting new seeds in containers next spring. Don’t plant bits of chaff expecting anything to grow. (Learned this the hard way with Verbena bonariensis seeds, which are also notoriously “half chaff.”)
In my early years of gardening, when I was less attuned to seed saving, I got into the habit of writing reminders to my future self: Mind the chaff when you plant, Mickey! Let’s just say springtime-me was grateful to be learning a lesson from fall-me.
How do you store black-eyed Susan seeds?
I prefer to store Rudbeckia seeds as dry seed heads in a paper bag. Of course, in the process some seeds will come loose on the drying tray, so I just scoop them up and add them to the bag. If I were storing loose seeds, I’d put them in a glass jar.
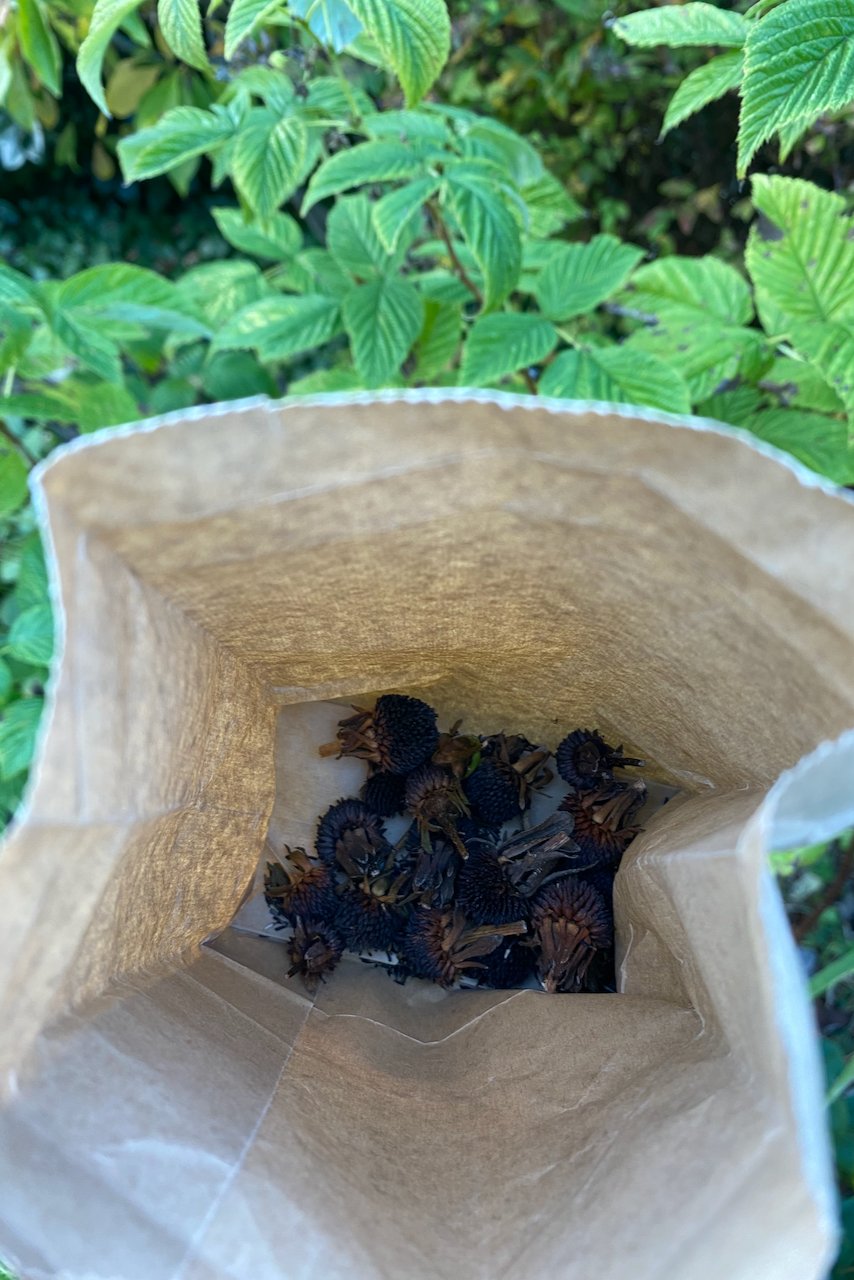
Since I’m storing them as seed heads, I’m keeping them in a paper bag, to continue to dry up. I keep the paper bag in a sealed seed box (a decorative cardboard box) in which I also put some pouches of desiccant.
Don’t forget to label the bag with the type of seeds and the year of collection.
One more note to self about black-eyed Susan seeds.
Like most perennials that drop their seeds in the fall, black-eyed Susans will benefit from a period of cold stratification in order to improve germination.
Write down a reminder for yourself – whether in your calendar, your gardening journal or the bag of seeds itself – to get this done before you plant them.
Just a note to put the saved seeds in the fridge for a couple of weeks before you plan on planting them.
If you forget, there are other ways to do stratification that will still work. Have a look at my (almost) comprehensive guide to seed stratification. I wrote down six methods with step-by-step photo instructions.
And for another method to propagate black-eyed Susans, here’s my guide on how to divide them.

